
There’s something truly enchanting about vibrant colors transforming a simple piece of bread into a culinary masterpiece. As I stood in my kitchen with flour dust dancing in the air, I was reminded of the joy that comes from baking with my little ones. That’s when I discovered the playful magic of Tie Dye Rainbow Bread—a recipe that not only results in a crunchy crust and soft, fluffy interior but also turns the art of baking into an exciting family activity.
Imagine the smiles on your children’s faces as they mix and knead dough in a rainbow of colors, bringing a fun, artistic flair to the kitchen. Whether it’s for a special occasion or just a weekend project, this visually stunning bread is bound to please both the eyes and the taste buds. So, roll up your sleeves and let’s dive into this delightful baking adventure—your family will thank you for it!
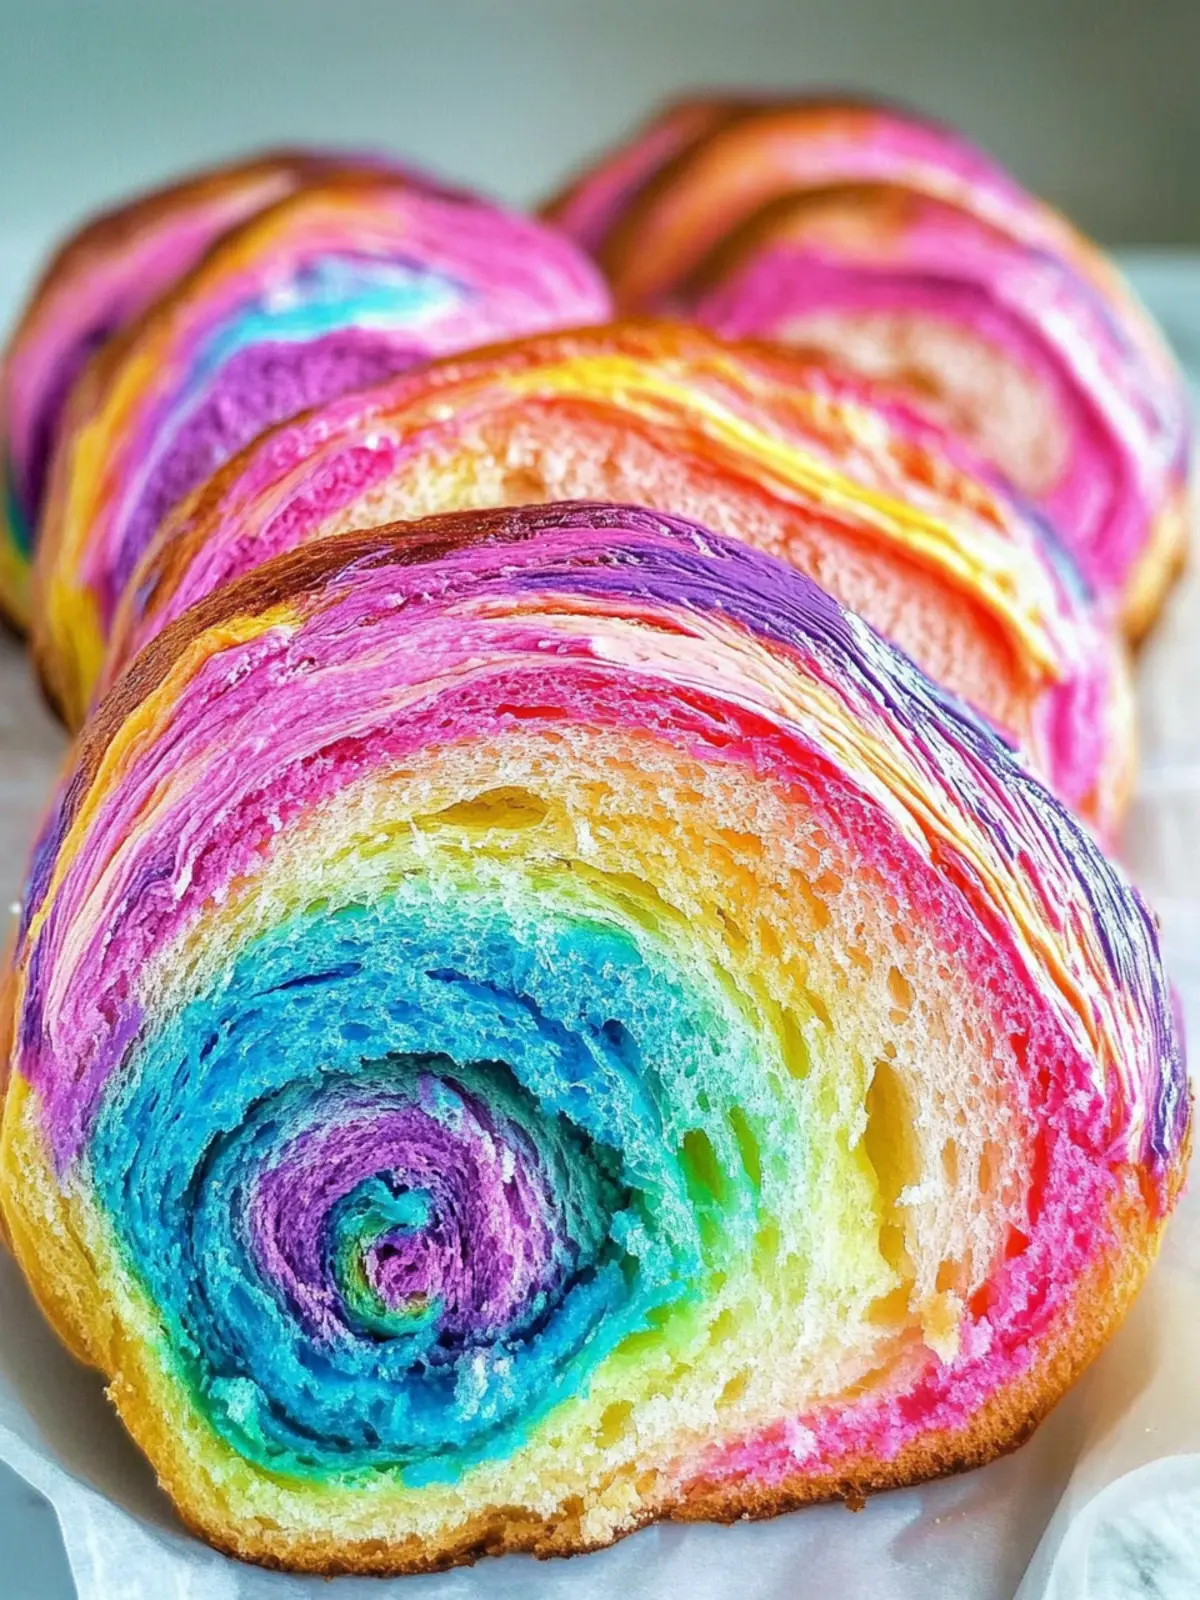
Why is Tie Dye Rainbow Bread a Must-Try?
Vibrant Fun: This colorful bread turns baking into a joyous art project that will captivate both kids and adults alike!
Easy to Make: The straightforward steps make it a breeze, so even beginner bakers will shine.
Impressive Results: The stunning, multicolored loaf looks like it came from a bakery, making it perfect for special occasions or just because.
Flavor Packed: Enjoy a delightful crust with a fluffy interior, reminiscent of classic French bread that the whole family will love.
Versatile Uses: Serve it as festive sandwiches or simply with butter, making it adaptable for any meal or snack.
Tie Dye Rainbow Bread Ingredients
For the Dough
• Active Dry Yeast – Essential for the bread to rise, ensuring a fluffy texture.
• Warm Water – Hydrates the yeast; aim for a temperature between 100°F-110°F (38°C-43°C) for the best activation.
• White Sugar – Adds a hint of sweetness and feeds the yeast for a better rise.
• Vegetable Oil – Keeps the bread moist; feel free to substitute with melted butter for added flavor.
• Salt – Enhances flavor and strengthens the gluten structure for a better rise.
• All-Purpose Flour – Provides structure; be sure to spoon and level it for accurate measurement.
For Coloring
• Food Coloring – Bring your tie-dye effect to life with multiple colors, and opt for gel food coloring for vibrant results.
For the Wash
• Egg Wash – Mix one egg white with cold water for a shiny crust that makes your bread look bakery-fresh.
This cheerful Tie Dye Rainbow Bread is not only fun to make but will also bring a splash of color to your dinner table!
How to Make Tie Dye Rainbow Bread
-
Activate Yeast: In a stand mixer, combine warm water, active dry yeast, and white sugar. Let it sit for 10 minutes until it becomes foamy, signaling that your yeast is active and ready to work its magic.
-
Mix Dough: Add vegetable oil, salt, and 2 cups of flour to the yeast mixture. Mix until combined, then gradually add the remaining flour until a soft dough forms. It should pull away from the sides of the bowl.
-
Knead Dough: On a floured surface, knead the dough for 6-8 minutes. It should become smooth and elastic, bouncing back nicely when pressed.
-
Coloring Dough: Divide the dough into four equal pieces. Knead 1/2 teaspoon of food coloring into each piece until well-saturated, creating vibrant colors for your tie-dye masterpiece.
-
Assemble Colors: Pinch small pieces of each colored dough and roll them into one large mixed ball. Make sure to combine them without overworking the dough, keeping those colorful swirls intact.
-
First Rise: Place the colorful dough in a greased bowl and cover it. Allow it to rise for 1 hour or until it doubles in size, filling your kitchen with a delightful baking aroma.
-
Second Rise: Punch down the dough gently to remove air bubbles, then cover it again and let it rise for another 30 minutes, encouraging that lovely fluffy texture.
-
Shape Loaf: Roll the dough out into a rectangle, then roll it tightly into a loaf shape. Pinch the seams to seal and tuck the ends under. Let it rise for 30 minutes on a lined baking sheet.
-
Preheat Oven: While your dough is rising, preheat your oven to 375°F (190°C), preparing for that magical transformation in the oven.
-
Egg Wash & Bake: Brush the top of the loaf with the egg wash and make diagonal slashes for a traditional touch. Bake for 30-35 minutes or until it’s golden brown and sounds hollow when tapped on the bottom.
Optional: Enjoy the warm bread with a pat of butter for an extra treat!
Exact quantities are listed in the recipe card below.
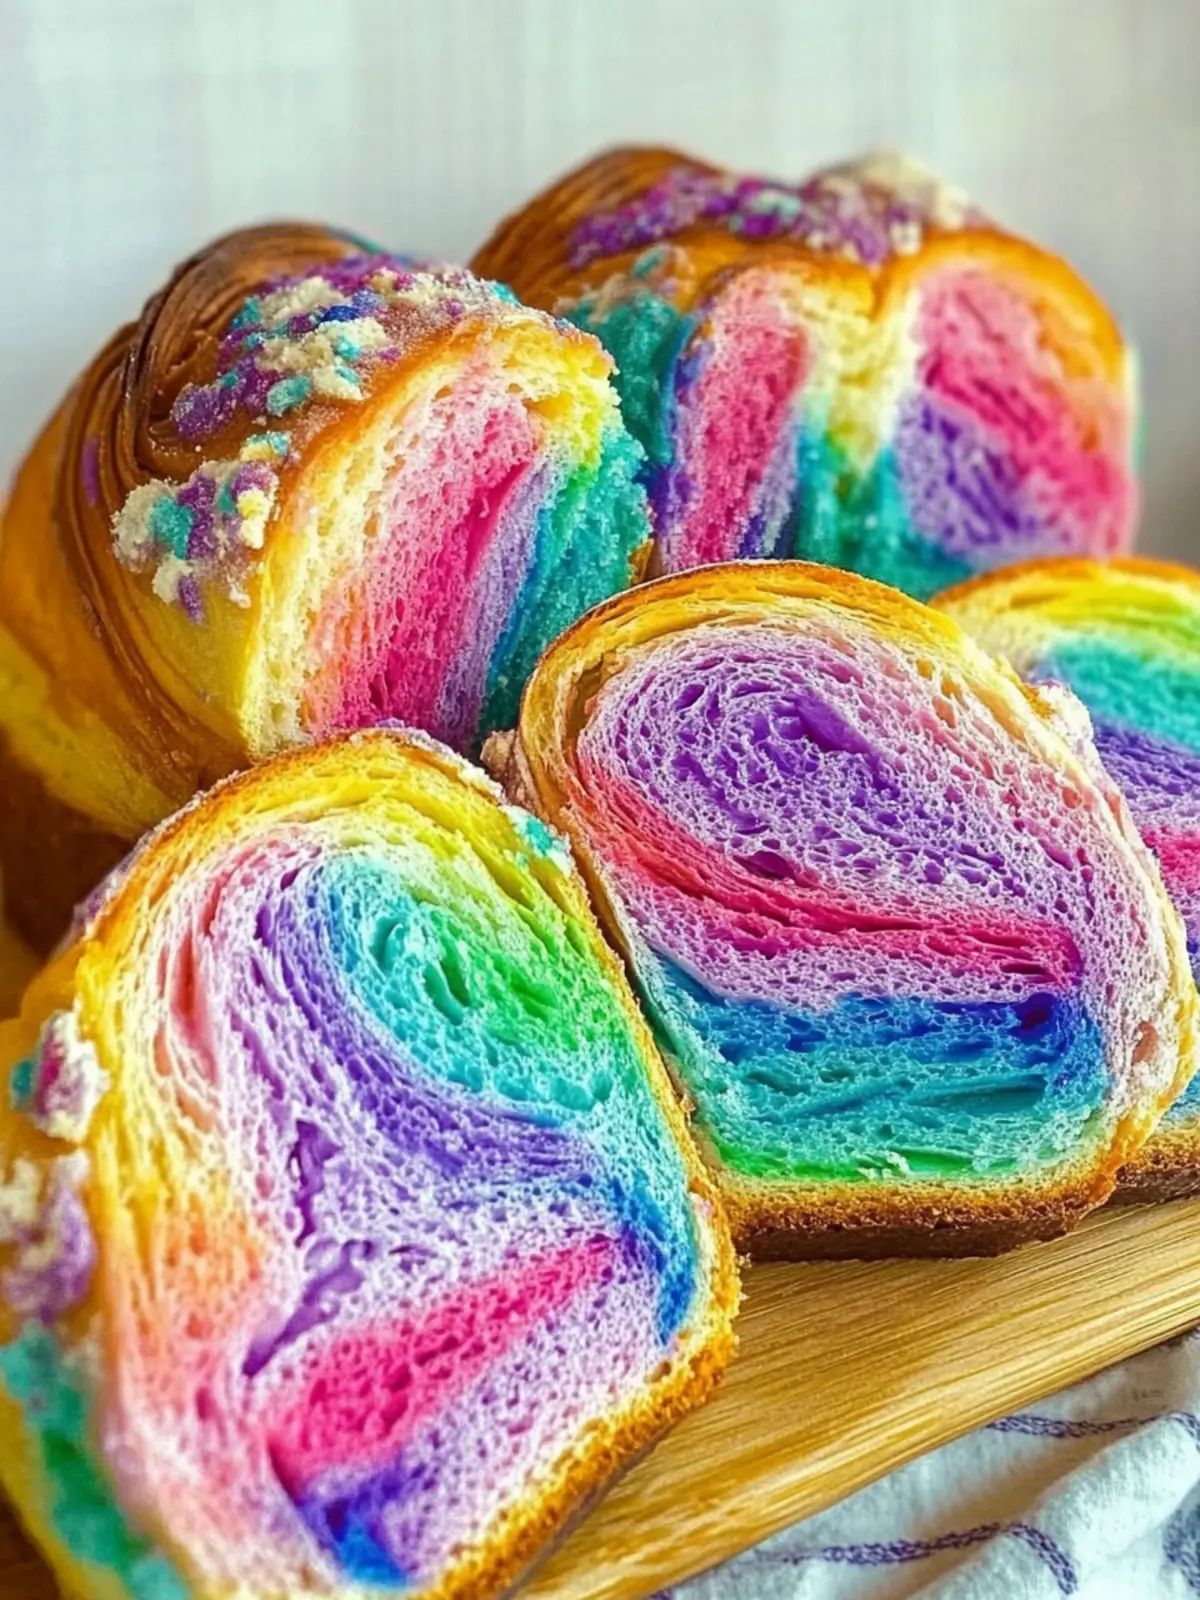
Tie Dye Rainbow Bread Variations
Feel free to unleash your creativity and personalize this delightful bread with these fun twists!
-
Gluten-Free: Substitute all-purpose flour with a gluten-free blend to make this a safe option for those with dietary restrictions.
-
Whole Wheat: Swap half of the all-purpose flour for whole wheat flour for a nuttier flavor and added nutrients.
-
Sweet Flavor Boost: Add 1 teaspoon of cinnamon or vanilla extract to the dough for a warm, inviting aroma that transforms this bread into a delightful treat.
-
Savory Delight: Incorporate finely chopped herbs like rosemary or thyme into the dough before coloring for a flavorful twist that pairs beautifully with savory dishes.
-
Cheesy Goodness: Mix in shredded cheese, such as cheddar or mozzarella, during the dough-making process for a mouth-watering cheesy loaf that’s sure to impress.
-
Colorful Sprinkles: For an extra touch of fun, sprinkle colorful nonpareils or edible glitter on top before the egg wash for a festive look that kids will adore.
-
Add Some Heat: For those who love a kick, sprinkle crushed red pepper flakes into the dough or use spicy food coloring (like chili powder) for an unexpected surprise in every bite.
-
Flavor Infusion: Substitute the water for flavored liquids like fruit juice or milk, enhancing the bread with subtle undertones that complement your chosen colors.
What to Serve with Tie Dye Rainbow Bread?
It’s time to create a colorful spread that complements the delightful appearance and texture of your vibrant creation!
- Creamy Tomato Soup: The rich, tangy flavors of this soup contrast beautifully with the fluffy bread, perfect for dipping into the warm goodness.
- Garlic Herb Butter: Spread this delicious compound butter on warm slices to elevate the flavor and add a luxurious twist to your rainbow masterpiece.
- Savory Charcuterie Board: Pair slices of this colorful bread with assorted cheeses, cured meats, and fruits for a fun and chic appetizer experience.
- Fresh Garden Salad: A light, crisp salad with tangy vinaigrette balances the dense bread, adding freshness to your meal.
- Fruit Jam or Spreads: Serve with a sweet fruit jam or homemade spreads to enhance the bread’s sweetness and delight your taste buds.
- Pasta Primavera: This vibrant vegetable pasta dish serves as a beautiful counterpart that adds colorful elements while complementing the bread’s hearty texture.
- Milkshake or Smoothie: Shake things up with a creamy shake or fruity smoothie for a fun and refreshing drink that fits right in with the colorful theme!
- Chocolate Mousse: For dessert, a rich and airy chocolate mousse makes for an indulgent pairing, blending beautifully with the lightness of the bread.
Make Ahead Options
These Tie Dye Rainbow Bread are perfect for meal prep enthusiasts! You can prepare the dough up to 24 hours in advance by following the initial steps and refrigerating it after the first rise. Simply cover the dough tightly with plastic wrap to prevent drying out, and let it chill in the fridge overnight. When you’re ready to bake, simply allow the dough to come to room temperature for about 30 minutes before shaping it into a loaf and proceeding with the second rise and baking instructions. This method not only saves time on busy weeknights but also ensures your bread is just as delicious and vibrant when served fresh!
Storage Tips for Tie Dye Rainbow Bread
- Room Temperature: Store the bread in an airtight container at room temperature for up to 3 days to keep it fresh and enjoyable.
- Freezer: For longer storage, wrap the Tie Dye Rainbow Bread tightly in plastic wrap and aluminum foil, then freeze for up to 1 month. This helps preserve its color and flavor.
- Reheating: When ready to enjoy, thaw the bread overnight in the fridge, then reheat in the oven at 350°F (175°C) for 10-15 minutes to restore its crusty exterior.
- Slicing: If freezing, consider slicing the bread before wrapping, so you can easily grab just what you need without thawing the entire loaf.
Expert Tips for Tie Dye Rainbow Bread
- Yeast Activation: Always check the temperature of your warm water; it should be 100°F-110°F to properly activate the yeast for a light, fluffy bread.
- Color Consistency: For vibrant results, use gel food coloring and knead it thoroughly into the dough for even color distribution in your Tie Dye Rainbow Bread.
- Don’t Rush the Rises: Allow the dough to rise fully; skipping this step can result in dense bread instead of the airy texture you desire.
- Measuring Flour: Avoid scooping flour directly from the bag; spoon and level it for accurate measurement to achieve the perfect dough consistency.
- Watch Baking Time: Every oven is different, so start checking your bread a few minutes early; it should sound hollow when tapped on the bottom.
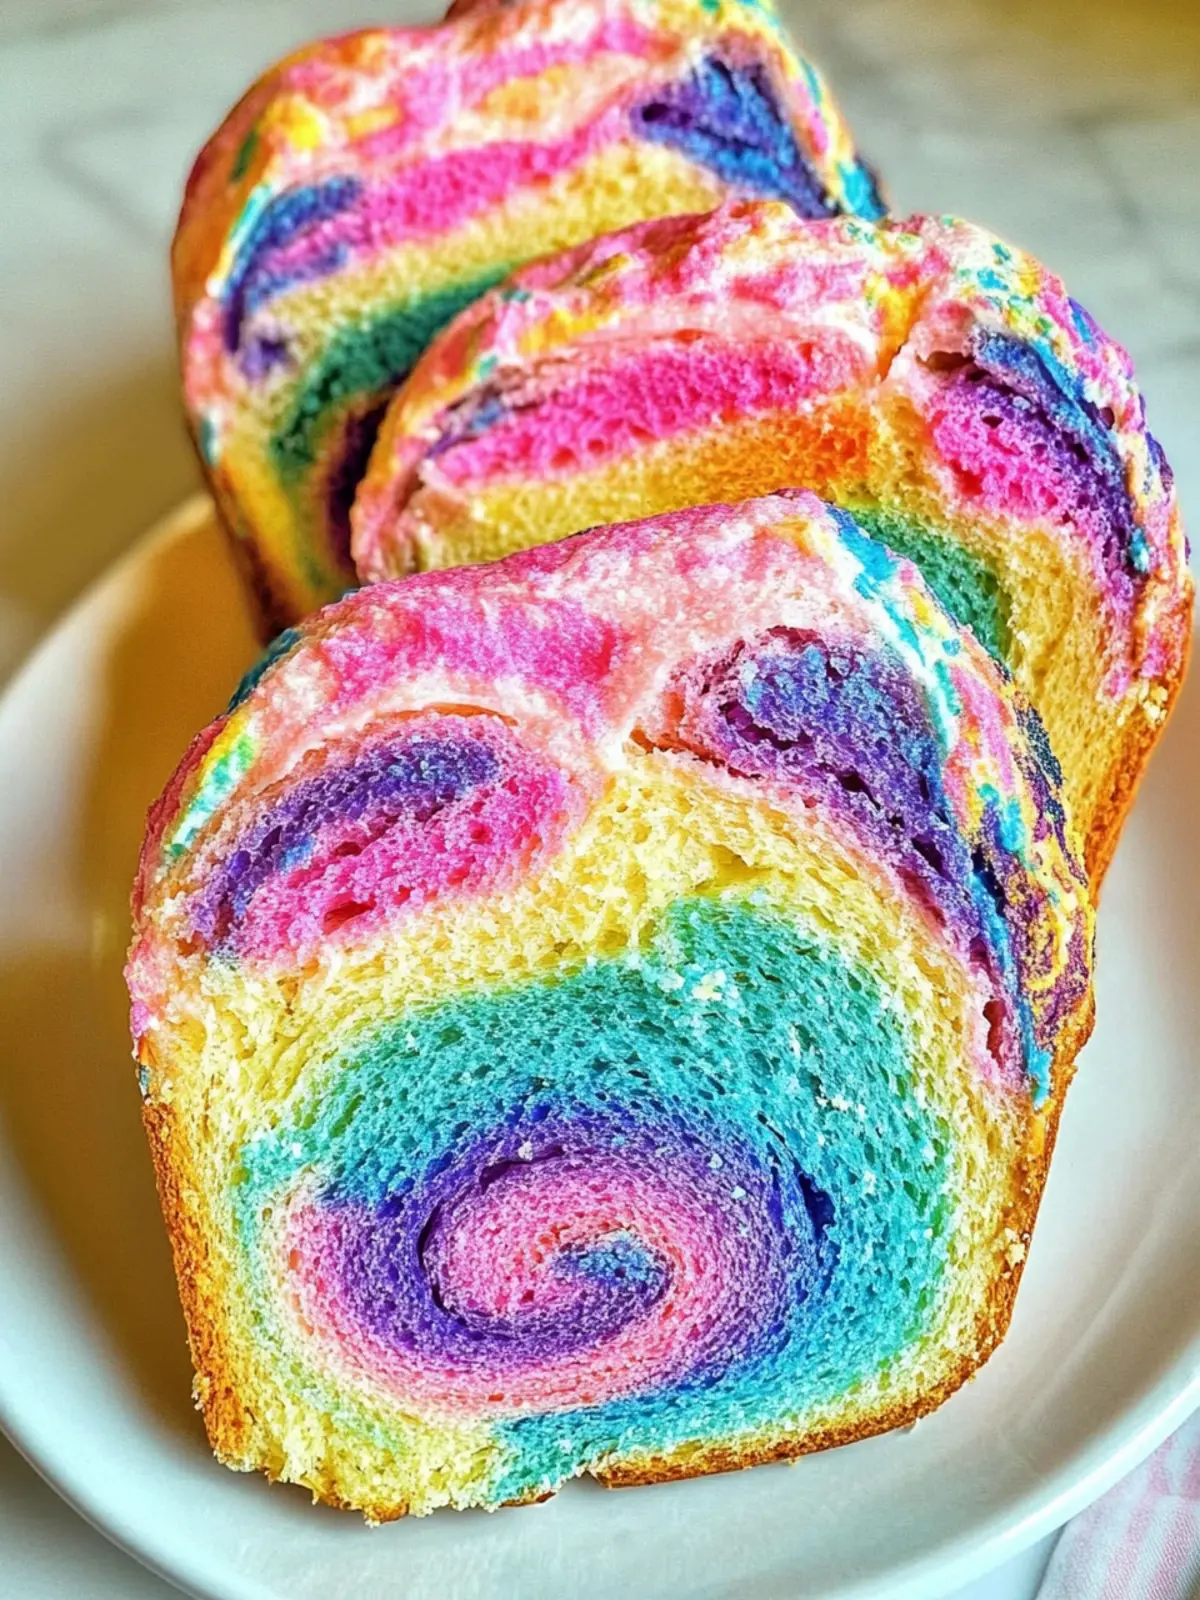
Tie Dye Rainbow Bread Recipe FAQs
How do I select the right ingredients for Tie Dye Rainbow Bread?
Absolutely! For this recipe, ensure that your active dry yeast is fresh and within its expiration date to achieve a good rise. Use warm water at a temperature between 100°F-110°F (38°C-43°C) to activate the yeast effectively. When selecting food coloring, opt for gel food coloring as it provides more vibrant hues compared to liquid coloring.
How should I store leftover Tie Dye Rainbow Bread?
I often recommend storing any leftover bread in an airtight container at room temperature, where it will stay fresh for up to 3 days. If you’re not ready to finish the whole loaf, for longer storage, wrap the bread tightly in plastic wrap and then in aluminum foil, allowing it to freeze for up to 1 month while preserving its delightful colors and flavors.
Can I freeze Tie Dye Rainbow Bread? If so, how?
Yes, you can! To properly freeze your Tie Dye Rainbow Bread, first allow it to cool completely. Next, wrap it tightly in plastic wrap, followed by a layer of aluminum foil to prevent freezer burn. Make sure to label it with the date so you know when it was stored. It can be frozen for up to 3 months—just remember to thaw it overnight in the refrigerator when you’re ready to enjoy it!
What should I do if my dough doesn’t rise properly?
Very! If your dough doesn’t rise, there could be a few reasons. First, check that your yeast is active (foamy after resting in warm water with sugar). Ensure that the water was at the correct temperature (100°F-110°F). If your kitchen is cool, I recommend placing the dough in a warmer spot, like an oven with the light on, or near a sunny window, to help encourage rising. Patience is key here; sometimes it just needs a bit more time!
Are there any dietary considerations I should be aware of with this recipe?
Definitely! For those with dietary restrictions, this Tie Dye Rainbow Bread is vegetarian-friendly. However, if anyone in your household has gluten sensitivities, you can experiment with a gluten-free flour blend, although the texture may vary. Additionally, the egg wash can be substituted with a plant-based milk for a vegan option, providing a delightful crust without using eggs. Be sure to check all ingredients for potential allergens!
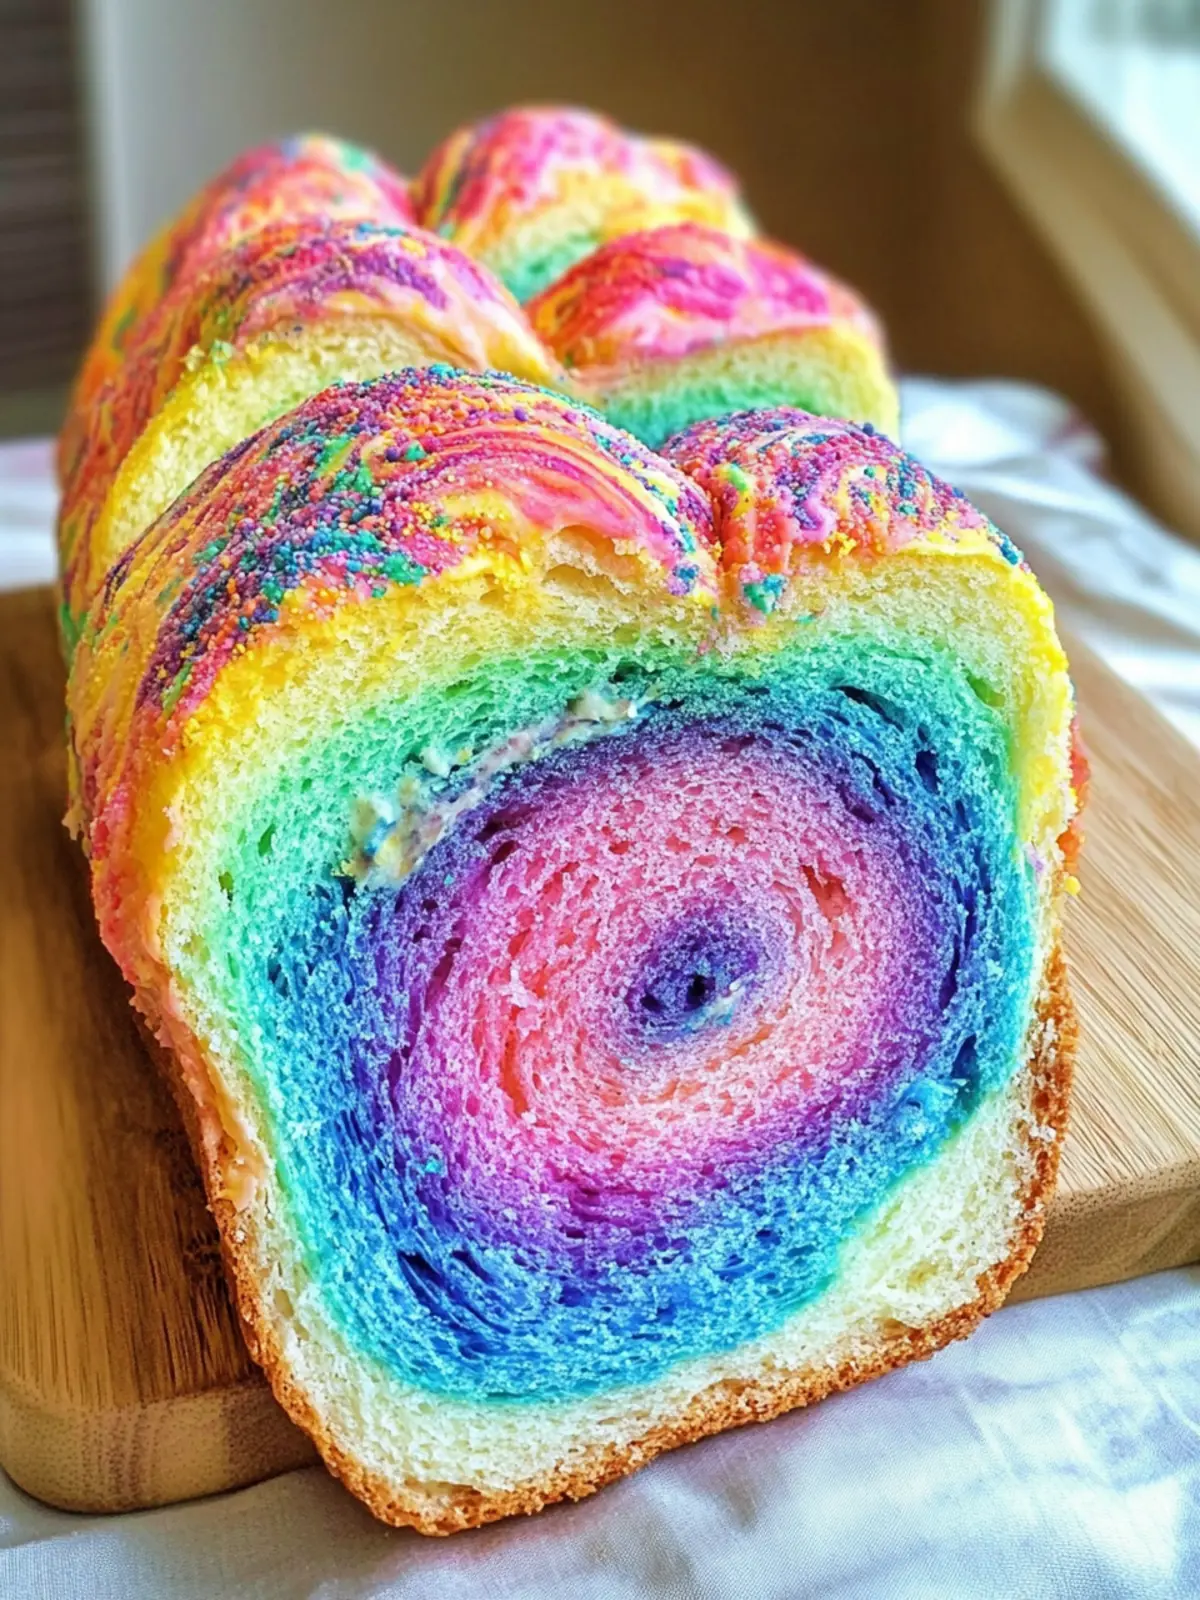
Tie Dye Rainbow Bread Recipe for Colorful Family Baking Fun
Ingredients
Equipment
Method
- In a stand mixer, combine warm water, active dry yeast, and white sugar. Let it sit for 10 minutes until foamy.
- Add vegetable oil, salt, and 2 cups of flour. Mix until combined, then gradually add remaining flour until a soft dough forms.
- Knead dough on a floured surface for 6-8 minutes until smooth and elastic.
- Divide dough into four equal pieces and knead 1/2 teaspoon of food coloring into each piece.
- Pinch small pieces of each colored dough and roll into one large mixed ball.
- Place the colorful dough in a greased bowl and cover. Allow to rise for 1 hour.
- Punch down the dough, cover again, and let rise for another 30 minutes.
- Roll the dough into a rectangle, then roll tightly into a loaf shape. Let it rise for another 30 minutes on a lined baking sheet.
- Preheat oven to 375°F (190°C).
- Brush with egg wash and make diagonal slashes on top. Bake for 30-35 minutes.