
As I was whisking away in my kitchen one afternoon, I caught a whiff of something that instantly transported me to festive gatherings filled with laughter and joy. That delightful smell? The essence of Taro Ube Cloud Cake, a light and airy dessert that’s as much a feast for the eyes as it is for the palate. Imagine slicing into a delicate chiffon cake, its pastel lavender hue captivating everyone in the room, while the sweet, nutty undertones of taro dance harmoniously with the spirited flavor of ube.
This cake isn’t just another dessert; it’s a celebration wrapped in layers of fluffy goodness. Perfect for birthdays, afternoon teas, or any gathering where you want to impress, it features a whipped ube halaya topping that adds a creamy richness to each ethereal bite. What I adore most about this cake is its versatility—it can easily be customized to suit any occasion! Join me as we embark on a delightful baking adventure to create a dessert that will leave your guests raving and your heart full.
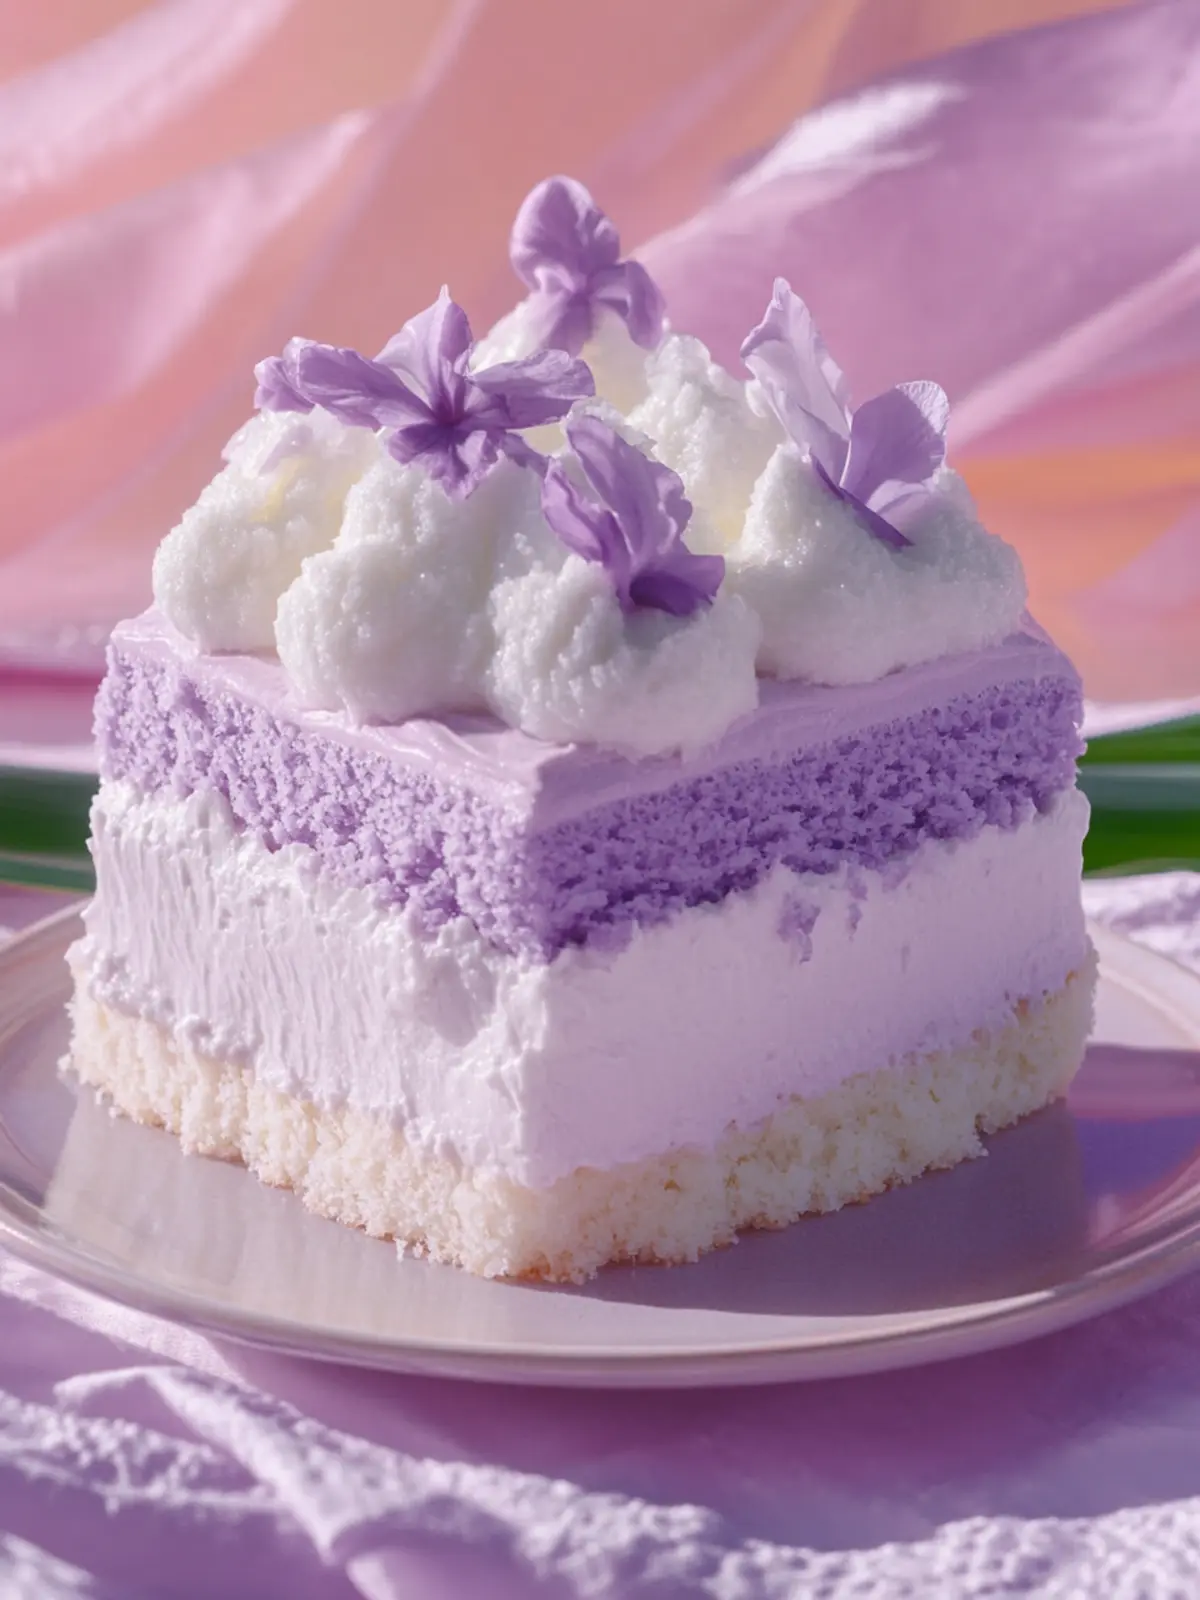
Why is Taro Ube Cloud Cake a Must-Try?
Delightfully Unique: This cake elevates traditional flavors, blending taro and ube for an unforgettable taste experience.
Visually Stunning: Its pastel lavender hue and whipped topping make it a show-stopping centerpiece for any dessert table.
Light and Airy: The chiffon texture melts in your mouth, offering a refreshing alternative to heavier desserts.
Versatile Customization: Easily adapt this recipe with variations like macapuno or matcha for unique twists.
Perfect for Gatherings: Ideal for celebrations, it will impress friends and family alike, proving this cake is not just about taste; it’s about making moments special.
Dive into this delightful treat and explore more ways to elevate your dessert game!
Taro Ube Cloud Cake Ingredients
• Explore the essentials for an airy delight!
For the Cake
- Cake Flour – Provides structure and lightness; substitute with a 1:1 gluten-free blend with xanthan gum for a gluten-free version.
- Cooked Mashed Taro – Adds flavor and moisture; ensure it’s cooled before use for the best results.
- Ube Halaya (ube jam) – Infuses authentic ube flavor; for a lighter twist, use 2 tablespoons of ube powder dissolved in milk.
- Eggs (yolk and whites) – Essential for richness and stability; separate thoroughly and beat egg whites to stiff peaks for maximum rise.
- Granulated Sugar – Sweetens and stabilizes egg whites; feel free to adjust for taste preference.
- Whole Milk – Adds moisture; coconut milk makes a delicious tropical substitute.
- Vegetable Oil – Keeps the cake moist; opt for a neutral-flavored oil to complement the other ingredients.
- Vanilla Extract – Enhances overall flavor; a touch of quality makes all the difference.
- Cream of Tartar – Stabilizes egg whites, ensuring lofty peaks for this airy cake.
- Salt – Balances sweetness and enhances flavor in every bite.
For the Whipped Topping
- Heavy Cream – Provides a luscious base; whip until soft peaks form for a light texture.
- More Ube Halaya – Folded into whipped cream, amplifies the ube flavor in your topping for an indulgent finish.
Dive into the delightful world of Taro Ube Cloud Cake and create a dessert that will enchant your taste buds!
How to Make Taro Ube Cloud Cake
-
Preheat the Oven: Set your oven to 325 °F (163 °C). Make sure not to grease your 9-inch chiffon or angel-food cake pan—this helps the cake rise beautifully.
-
Prepare Yolk Mixture: In a mixing bowl, whisk together the egg yolks, ½ cup sugar, milk, vegetable oil, vanilla extract, cooked mashed taro, and ube halaya. Aim for a smooth consistency as you blend these delightful ingredients.
-
Beat Egg Whites: In a separate bowl, beat the egg whites with a pinch of salt until foamy. Gradually add the cream of tartar and the remaining sugar, continuing to beat until you achieve stiff peaks—this is crucial for that airy texture!
-
Combine Mixtures: Gently lighten the yolk mixture with one-third of the meringue. Carefully fold in the remaining meringue until no white streaks remain, ensuring you maintain the fluffiness of the batter.
-
Bake the Cake: Pour your batter into the prepared pan and bake for 30-35 minutes. Keep an eye on it; the cake is done when it’s golden and springs back lightly when touched.
-
Cool Upside Down: Loosen the edges and carefully invert the pan onto a bottle to cool completely. This unique method preserves the cake’s structure and helps it to maintain its lofty height.
-
Release and Top: Once cooled, run a knife around the edges to release the cake. In a mixing bowl, whip the heavy cream until soft peaks form, then fold in more ube halaya. Spread this creamy topping generously over the cake for that delicious final touch.
Optional: Garnish with additional whipped cream or a sprinkle of toasted coconut for a delightful finish.
Exact quantities are listed in the recipe card below.
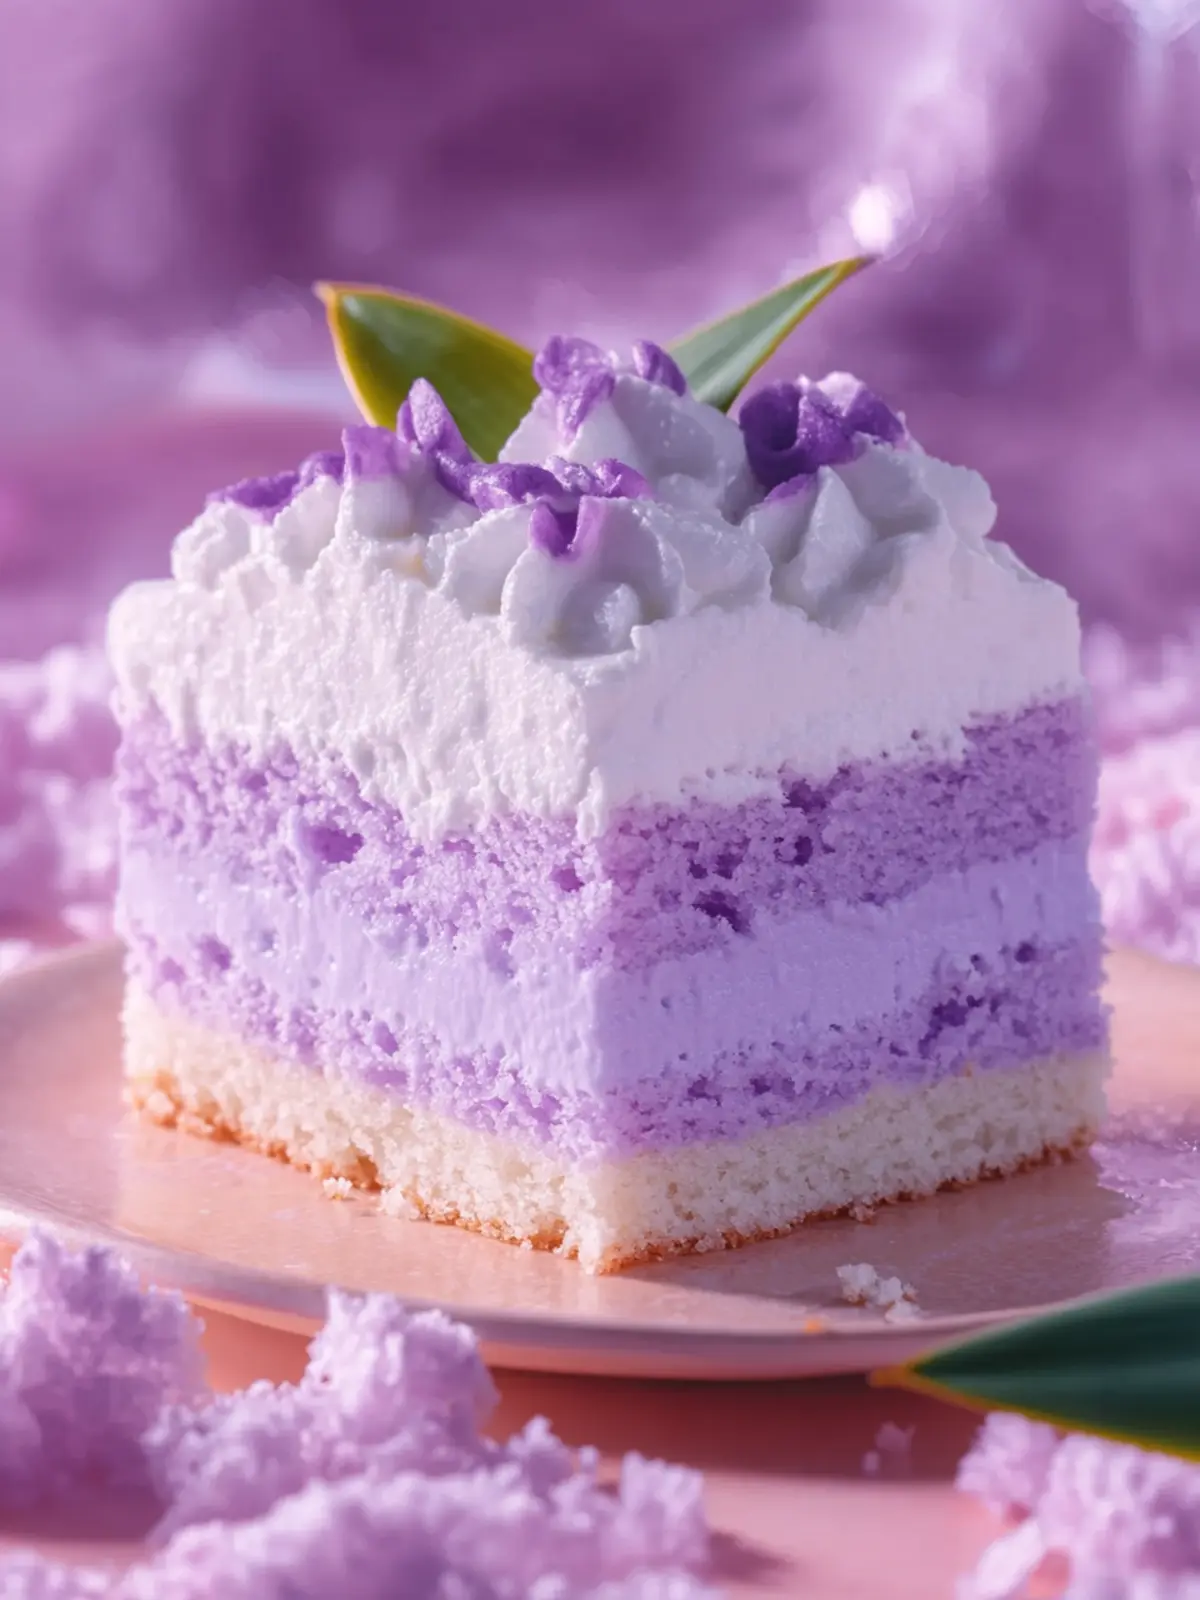
Expert Tips for Taro Ube Cloud Cake
- Room Temperature Eggs: Ensure egg whites are at room temperature; they whip up better and create a fluffier cake.
- Gentle Folding: Avoid deflating the batter by gently folding meringue into the yolk mixture; this keeps the airy texture intact.
- Stiff Peaks: Beat egg whites until they reach stiff peaks for the best rise—over-beating can make them dry and less pliable.
- Cooling Tip: Cool the cake upside down to maintain structure; this step prevents it from collapsing after baking.
- Whipped Topping Storage: If preparing the whipped cream topping in advance, refrigerate it to maintain freshness and texture before serving.
Taro Ube Cloud Cake Variations & Substitutions
Feel free to explore these fun twists to make this delightful cake even more your own!
-
Dairy-Free: Swap whole milk with almond or coconut milk for a deliciously light, dairy-free alternative.
Add a splash of vanilla to enhance the flavor while keeping it creamy! -
Gluten-Free: Use a gluten-free flour blend to replace the cake flour.
This ensures everyone can enjoy the fluffy texture without missing out on this cloud-like treat! -
Flavor Infusion: Introduce a hint of pandan extract in the yolk mixture for an exotic flavor twist.
The aromatic pandan beautifully complements both taro and ube, adding a fragrant layer of taste. -
Nutty Delight: Mix in crushed roasted almonds or cashews in the batter for a delightful crunch.
The added texture creates a wonderful contrast with the soft chiffon cake, making every bite exciting. -
Berry Bliss: Incorporate muddled berries like blueberries or strawberries into the whipped topping for a fruity twist.
This addition not only enhances flavor but also creates a stunning visual appeal on the creamy surface. -
Cacao Surprise: Blend cacao powder into the dry ingredients for a chocolatey addition that pairs well with ube.
The rich chocolate flavor creates a fun contrast, pleasing for both chocolate and ube lovers alike! -
Spicy Kick: Add a pinch of cayenne pepper or chili powder to the batter for a surprising heat.
This unexpected twist balances the sweetness and adds depth to the cake’s overall flavor profile. -
Coconut Cream Topping: Replace heavy cream in the topping with whipped coconut cream for a tropical vibe.
The subtle coconut flavor complements ube perfectly while providing a lush, creamy texture.
How to Store and Freeze Taro Ube Cloud Cake
- Room Temperature: Keep the cake covered at room temperature for up to 1 day if you plan to serve it right away; this helps maintain its delightful texture.
- Fridge: Store the Taro Ube Cloud Cake in an airtight container in the fridge for up to 3 days. This will keep it fresh and preserve the flavors of the whipped ube halaya topping.
- Freezer: For longer storage, wrap slices of the cake in plastic wrap and then aluminum foil. Freeze for up to 1 month, ensuring it stays moist and delicious.
- Reheating: To enjoy cake slices after freezing, let them thaw in the fridge overnight. Serve chilled, or warm them gently in the microwave for a few seconds to soften the texture.
What to Serve with Taro Ube Cloud Cake?
Indulge in the flavor symphony that accompanies this airy dessert, transforming any gathering into a memorable occasion.
-
Fresh Berries: Juicy strawberries, raspberries, and blueberries add a vibrant color contrast and a tart burst that enhances the cake’s sweetness.
-
Coconut Sorbet: The tropical chill of coconut sorbet creates a creamy complement, enriching the experience with a refreshing finish.
-
Filipino Coffee: A rich cup of Filipino coffee, with its nutty undertones, perfectly balances the light cake, making for an exquisite pairing.
-
Citrus Salad: A citrus salad featuring oranges and grapefruits drizzled with honey offers a zesty counterpart that cuts through the cake’s richness.
-
Creamy Vanilla Ice Cream: The velvety texture of vanilla ice cream serves as a luxurious base, accentuating the fluffy layers of the Taro Ube Cloud Cake.
-
Matcha Green Tea: A lovely cup of matcha brings an earthy note to your meal, echoing the subtle flavors of the cake while enhancing the overall experience.
-
Chocolate Drizzle: A light drizzle of chocolate sauce takes the cake experience to another level, adding a decadent touch that pairs beautifully with ube.
-
Toasted Coconut Flakes: A sprinkle of toasted coconut adds crunch and complements the cake’s flavors while bringing a delightful texture to each bite.
Make Ahead Options
The Taro Ube Cloud Cake is perfect for busy home cooks looking to save time without sacrificing flavor! You can prepare the cake batter up to 24 hours in advance. Just mix your yolk and meringue ingredients as instructed, then refrigerate the unbaked batter tightly covered to keep it fresh. For the whipped ube topping, it can be made a day ahead and stored in the fridge; just give it a gentle re-whip before spreading it over the cooled cake. When you’re ready to serve, simply bake the cake and let it cool upside down to maintain that delightful airy texture—just as delicious and ready to impress your guests without last-minute fuss!
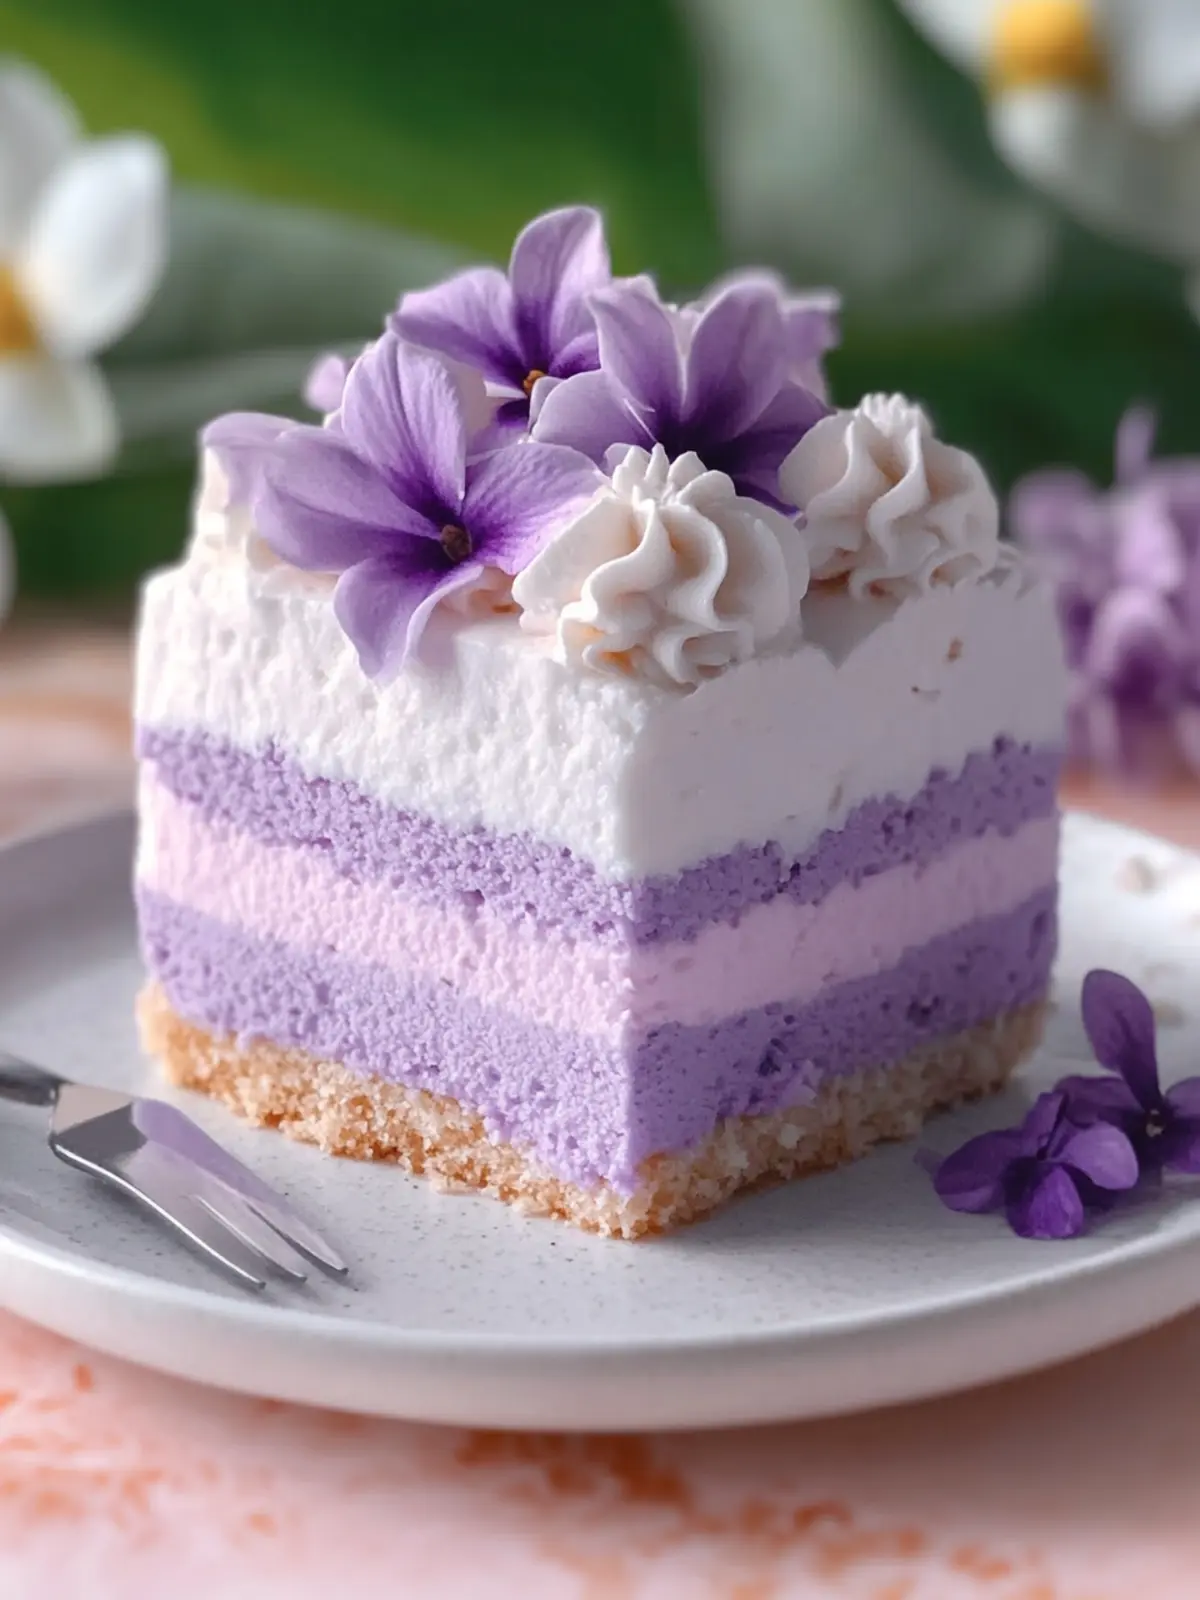
Taro Ube Cloud Cake Recipe FAQs
What kind of taro should I use for this recipe?
Absolutely! For the best flavor and texture, I recommend using mature, cooked taro that’s been thoroughly cooled and mashed before incorporating it into your cake. Avoid using taro with dark spots or an overly fibrous texture, as it can affect the cake’s smoothness.
How should I store the Taro Ube Cloud Cake?
Very good question! After baking, store your Taro Ube Cloud Cake in an airtight container in the refrigerator for up to 3 days. Make sure to keep it covered to maintain its airy texture and flavors of the whipped ube halaya topping. If you plan to enjoy it later, wrap individual slices in plastic wrap and then aluminum foil to freeze for up to 1 month.
Can I freeze Taro Ube Cloud Cake?
Absolutely! To freeze, first, let the cake cool completely and slice it if desired. Wrap each slice tightly in plastic wrap and then in aluminum foil. This double-wrapping helps keep the cake moist. When you’re ready to enjoy, just thaw the slices in the fridge overnight or microwave them for a few seconds.
What should I do if my cake collapses after baking?
Very common! If your Taro Ube Cloud Cake collapses, it may be due to a couple of factors: either it wasn’t cooled upside down, which helps maintain its structure, or the egg whites were not whipped to the proper stiff peaks. Always ensure egg whites are beaten until they hold strong peaks, and never skip the cooling step!
Is Taro Ube Cloud Cake suitable for people with allergies?
Certainly! This cake contains eggs, dairy, and gluten, so those with allergies to these ingredients should exercise caution. Substitutions such as using a gluten-free flour blend or coconut milk can make it more inclusive. Just be sure to check for any personal dietary restrictions before serving!

Taro Ube Cloud Cake: Create a Dreamy Dessert Experience
Ingredients
Equipment
Method
- Preheat the Oven: Set your oven to 325 °F (163 °C). Do not grease the pan.
- Prepare Yolk Mixture: Whisk together egg yolks, 1/2 cup sugar, milk, oil, vanilla, taro, and ube halaya.
- Beat Egg Whites: Beat egg whites with salt until foamy, then gradually add cream of tartar and sugar until stiff peaks form.
- Combine Mixtures: Lighten yolk mixture with a third of meringue, then fold in remaining meringue.
- Bake the Cake: Pour batter into the pan and bake for 30-35 minutes, until golden.
- Cool Upside Down: Invert the pan onto a bottle to cool completely.
- Release and Top: Run a knife around the edges to release the cake, then whip cream and fold in more ube halaya.