
There’s something wonderfully nostalgic about the vibrant, sweet taste of strawberry fruit roll-ups—those chewy snacks that whisk you back to carefree childhood days. I fondly remember enjoying them as a treat during family picnics, but now, I’m excited to make a healthier version right at home. These 3-Ingredient Homemade Strawberry Fruit Roll-Ups are not only incredibly easy to whip up, but they’re also free from excess sugar and preservatives found in store-bought options.
All you need are fresh or frozen strawberries, a touch of honey, and a splash of lemon juice. The beauty lies in their versatility; you can tweak the flavors to suit your taste and even substitute different fruits. Whether you’re looking to satisfy a sweet craving or wanting to pack a nutritious snack for the kids, these delightful, homemade treats are as satisfying as they are customizable. So, let’s dive in and transform simple ingredients into a delicious, nostalgic delight!
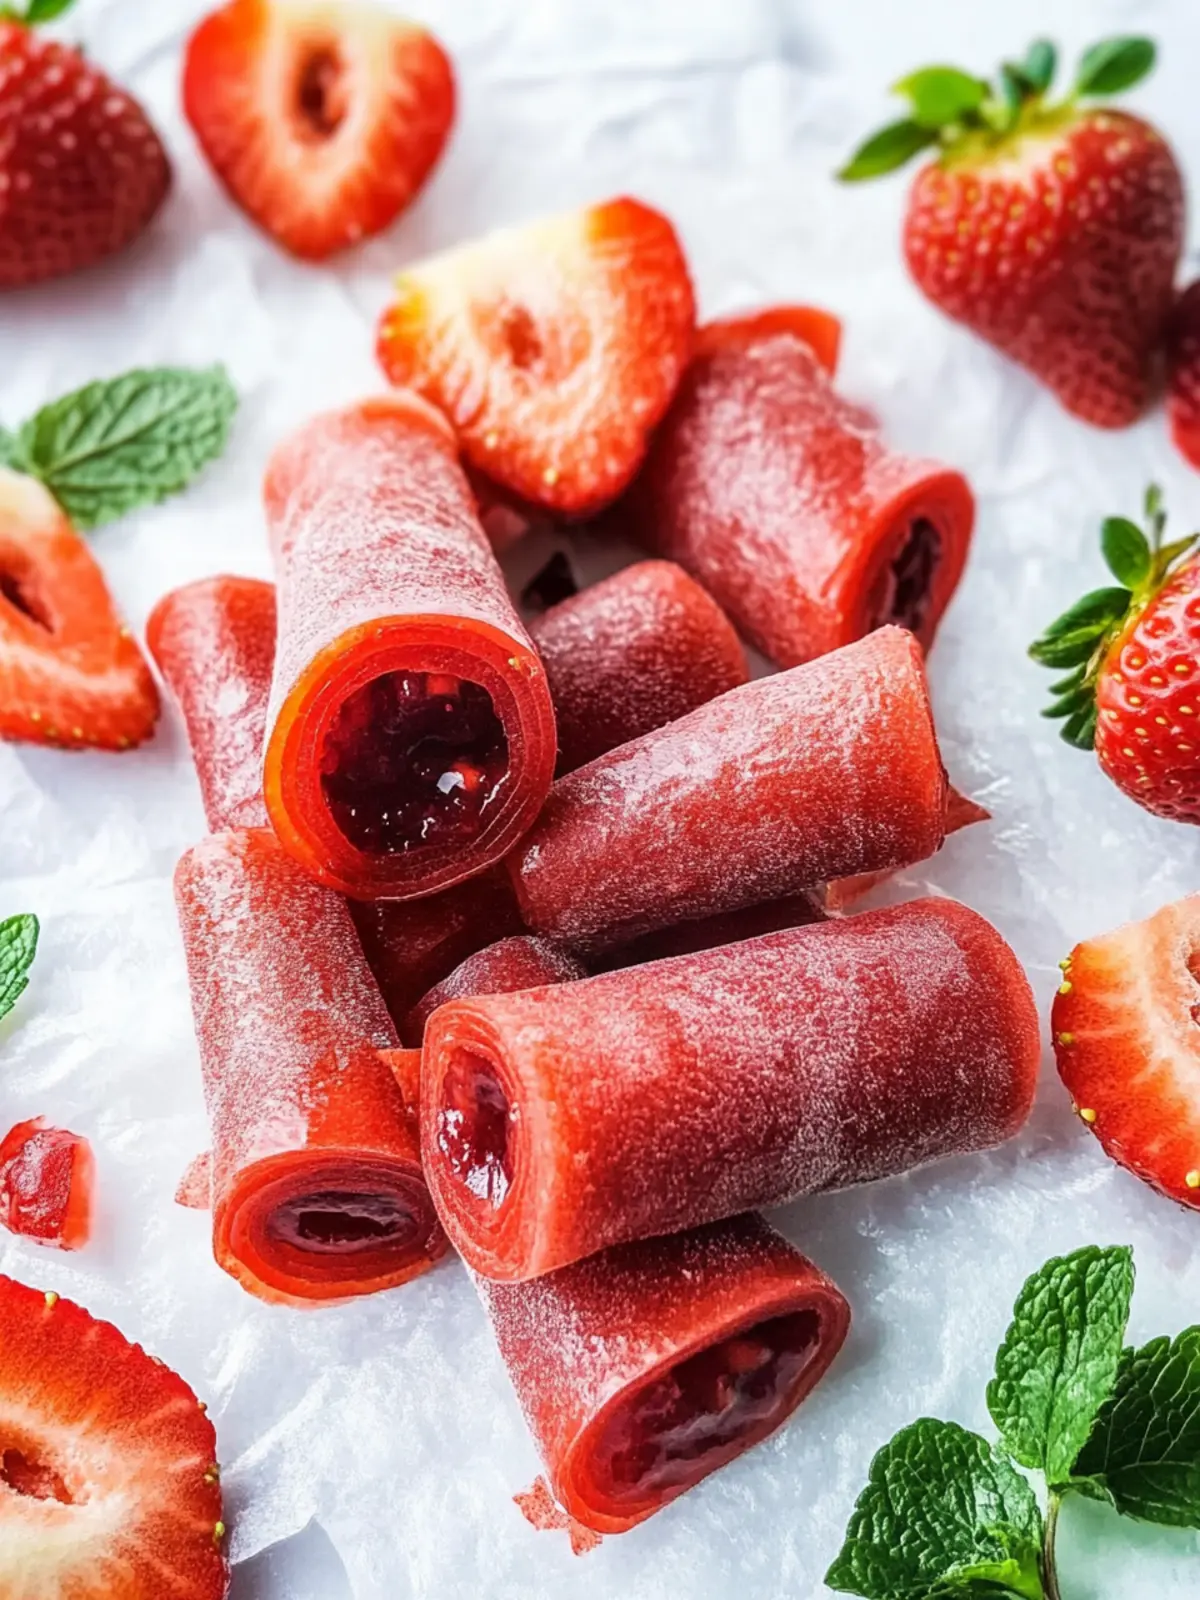
Why are these Strawberry Fruit Roll-Ups irresistible?
Healthy Treat: They are a guilt-free alternative to store-bought snacks, packed with vitamins and free from preservatives.
Quick to Make: With only three ingredients, you can whip these up in no time, making them perfect for busy lifestyles.
Versatile Flavors: Experiment with different fruits like mango or apple to keep things exciting!
DIY Fun: Get the kids involved in the kitchen to create their own customized snacks.
Perfect for Lunches: These roll-ups are easy to pack for school lunches or snacks on the go, ensuring everyone enjoys something homemade.
Strawberry Fruit Roll-Ups Ingredients
• Get ready to make healthy, homemade snacks!
For the Fruit Mixture
- Strawberries – Provides natural sweetness and flavor; fresh or frozen work perfectly!
- Honey – Acts as a sweetener and binding agent; substitute with maple syrup or agave for a vegan option.
- Lemon Juice – Enhances color and brightness while balancing sweetness; freshly squeezed is ideal, but bottled juice also works.
Optional Flavor Add-Ins
- Spices (e.g., cinnamon, vanilla extract) – Consider adding these for depth of flavor; customize your Strawberry Fruit Roll-Ups to your liking!
How to Make Strawberry Fruit Roll-Ups
-
Preheat the oven to a low setting between 140°F and 170°F. This gentle heat will help to dry the fruit mixture evenly without cooking it too quickly.
-
Line a baking sheet with parchment paper. This will prevent the fruit mixture from sticking and make it easier to remove once it’s ready!
-
Blend the strawberries, honey, and lemon juice in a food processor or blender until smooth. Ensure there are no lumps for a consistent texture in your roll-ups.
-
Spread the fruit mixture onto the prepared baking sheet, forming an even layer about ⅛ to ¼ inch thick. This thickness will ensure proper drying throughout the mixture.
-
Bake in the oven for 4 to 6 hours, checking periodically after 4 hours. The roll-ups are done when the center is no longer tacky but slightly sticky to the touch.
-
Cool the baked mixture completely before carefully removing it from the parchment paper. This helps retain the shape and texture.
-
Trim the edges for a neat appearance, then cut the roll-up into 1-inch strips. These bite-sized pieces are perfect for snacking!
Optional: Enjoy these rolled-up treats as a healthy, on-the-go snack!
Exact quantities are listed in the recipe card below.
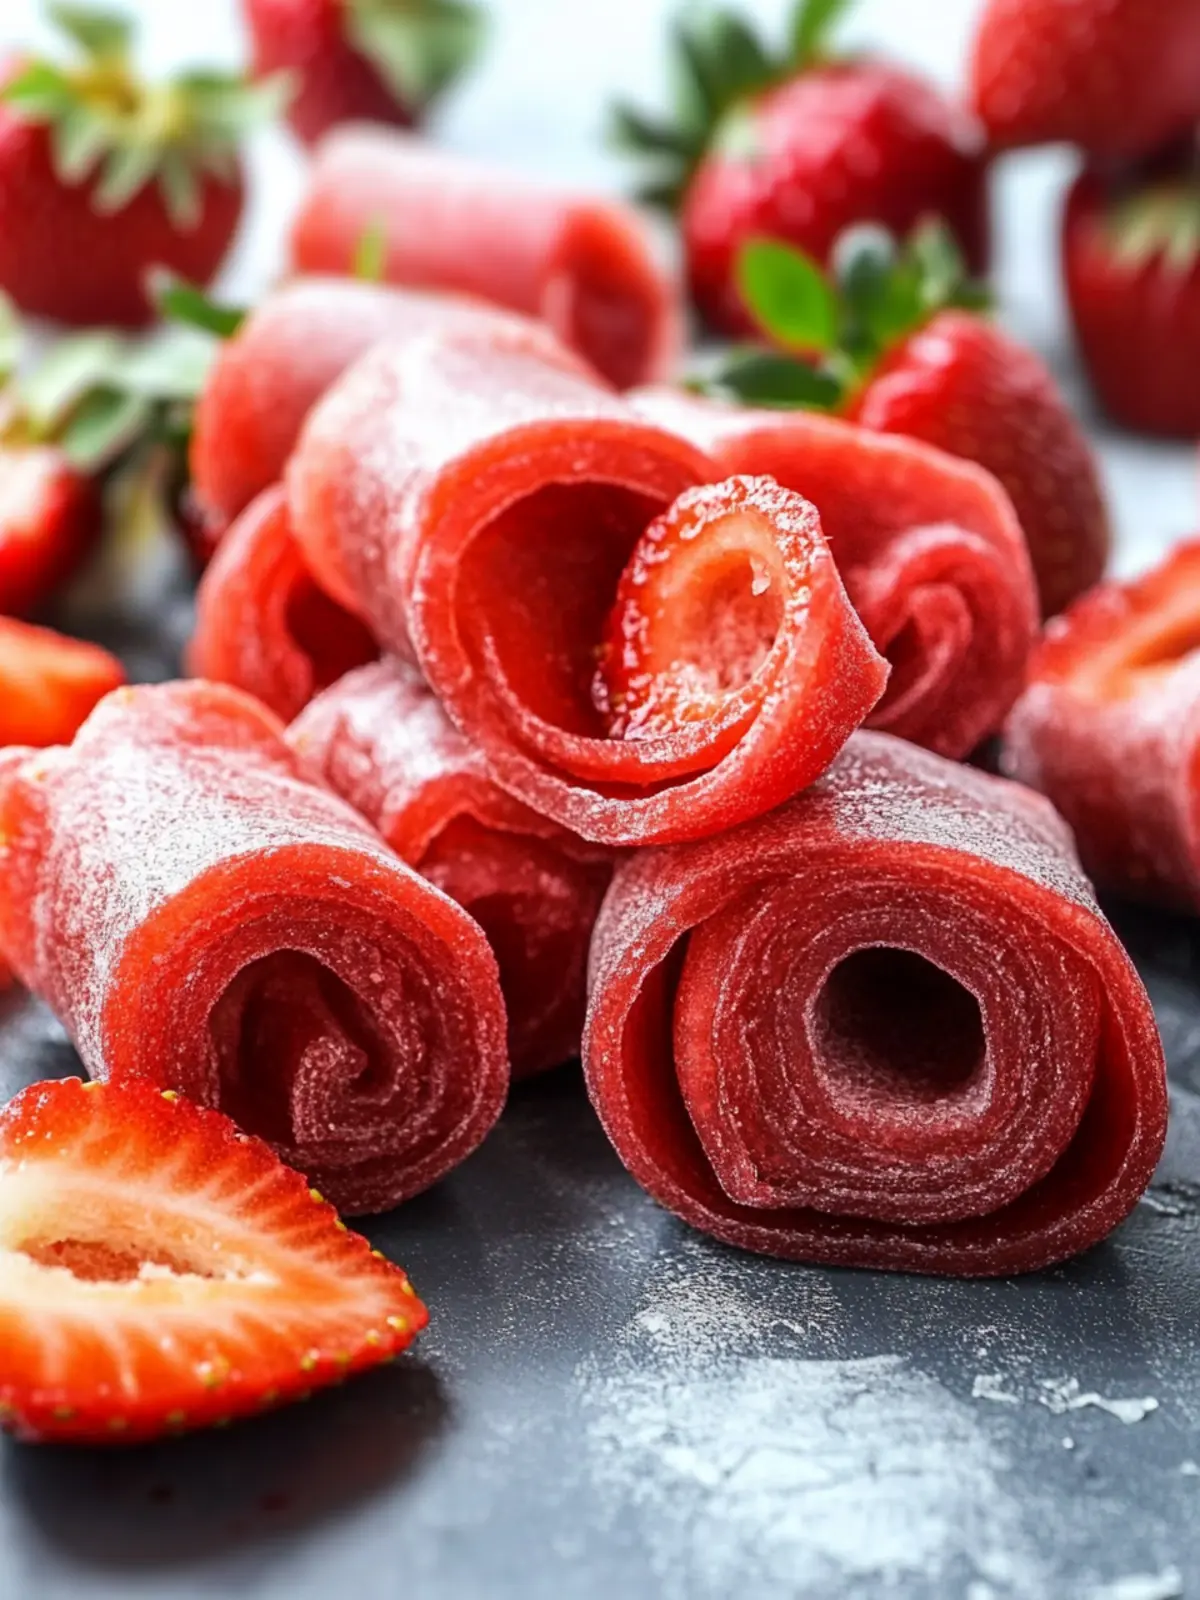
Expert Tips for Strawberry Fruit Roll-Ups
-
Even Layer: Ensure the fruit mixture is spread evenly on the baking sheet. An inconsistent layer can lead to uneven drying, leaving some parts sticky.
-
Check for Stickiness: After baking, gently touch the center to check for tackiness. If it feels gluey, let it bake longer; if the edges are dry, rub with water to rehydrate slightly.
-
Use Fresh Ingredients: Opt for ripe, fresh strawberries for the best flavor. If using frozen, allow them to thaw and drain excess moisture before blending.
-
Flavor Variations: Don’t hesitate to mix and match fruits! Using different options like mango or apple can add delightful twists to your Strawberry Fruit Roll-Ups.
-
Storage Matters: Keep the roll-ups in an airtight container in the fridge up to two weeks. A paper towel can help absorb excess moisture, maintaining their chewiness.
What to Serve with Strawberry Fruit Roll-Ups?
Satisfy your cravings for a homey meal by pairing these delightful roll-ups with simple favorites that enhance their fruity charm.
-
Yogurt Parfait: Creamy yogurt layered with granola and fresh fruit complements the sweet chewy bites perfectly. Add a drizzle of honey for extra sweetness.
-
Nut Butter Toast: Spread almond or peanut butter on whole-grain toast for a protein-packed snack. The saltiness of nut butter balances the sweetness of the fruit roll-ups beautifully.
-
Fresh Fruit Salad: A vibrant mix of seasonal fruits like blueberries and kiwi adds a refreshing contrast. The natural juices from the fruit will enhance the flavors of your roll-ups.
-
Cheese Platter: A selection of cheeses can elevate your snack table. Soft cheese like brie or tangy goat cheese pairs wonderfully with the sweetness of the roll-ups.
-
Smoothie: Blend your favorite fruits with yogurt for a delightful drink. The smooth texture and refreshing flavors will complement the chewy snack, making it a wholesome treat.
-
Herbal Tea: A cup of chamomile or mint tea provides a calming backdrop to your healthy indulgence. The warm notes will enhance your experience as you savor your snacks.
-
Dark Chocolate Dipping Sauce: For a dessert twist, melt some dark chocolate for dipping. The rich, slightly bitter taste contrasts elegantly with the sweetness of the strawberry roll-ups.
-
Trail Mix: Whip up a mix of nuts, seeds, and dried fruits to provide crunch and variety. This portable snack is ideal for road trips or picnics alongside your roll-ups.
Strawberry Fruit Roll-Ups Variations
Feel free to make these delightful fruit roll-ups your own with these exciting twists and substitutions!
-
Berry Medley: Combine strawberries with raspberries or blueberries for a fun, mixed berry flavor that pops with tanginess.
A mix of berries adds complexity and brightens the taste, taking you on a new fruity adventure. -
Tropical Twist: Substitute strawberries for fresh mango or pineapple for a sunny, tropical version.
The natural sweetness of mangoes transforms these roll-ups into a mini-vacation for your taste buds! -
Sugar-Free Option: Use ripe bananas instead of honey or any other sweetener for a naturally sweet fruit roll-up.
Bananas provide a perfectly sweet complement to the fruity canvas, creating a wholesome treat. -
Spiced Delight: Add a dash of ground cinnamon or a few drops of vanilla extract for an aromatic boost.
This hint of warmth and sweetness elevates the flavors, transforming the roll-ups into a comforting snack. -
Heat Element: For those who enjoy a kick, add a pinch of cayenne or a few drops of hot sauce to the mixture.
The delightful contrast of sweet and spicy will surprise your palate and keep things interesting! -
Nutty Flavor: Mix in a tablespoon of almond or peanut butter for a more filling fruit roll-up.
This creates a rich, creamy consistency, making your snack even more satisfying and delicious. -
Zesty Citrus: Experiment with lime juice instead of lemon juice for a different citrus zing that brightens the fruits.
Limes introduce a refreshing tartness that awakens the other flavors and adds a new dimension. -
Gluten-Free Granola Coating: After cutting the roll-ups, sprinkle gluten-free granola on one side to add a crunchy texture.
The crunchy granola enhances the chewiness while providing additional fiber and flavor.
How to Store and Freeze Strawberry Fruit Roll-Ups
-
Room Temperature: Keep opened fruit roll-ups wrapped in parchment paper and stored in an airtight container at room temperature for up to 3 days for optimal texture.
-
Fridge: For extended freshness, store in an airtight container in the fridge for up to 2 weeks. Adding a paper towel inside can absorb excess moisture and maintain the chewiness of your strawberry fruit roll-ups.
-
Freezer: If you want to store them longer, freeze the roll-ups by layering them between parchment paper in an airtight freezer bag. They can last up to 3 months in the freezer.
-
Reheating: To enjoy them, simply thaw in the refrigerator overnight or let them sit at room temperature for about 30 minutes.
Make Ahead Options
These 3-Ingredient Homemade Strawberry Fruit Roll-Ups are perfect for busy home cooks looking to save time during the week! You can prepare the fruit mixture up to 24 hours in advance—simply blend the strawberries, honey, and lemon juice and store it in an airtight container in the refrigerator. When you’re ready to make the roll-ups, pour the mixture onto the baking sheet and follow the baking instructions. To maintain the quality, make sure to spread the mixture evenly and check for doneness after 4 hours; it should be pliable yet not tacky. This way, you’ll have delicious, homemade snacks ready in no time!
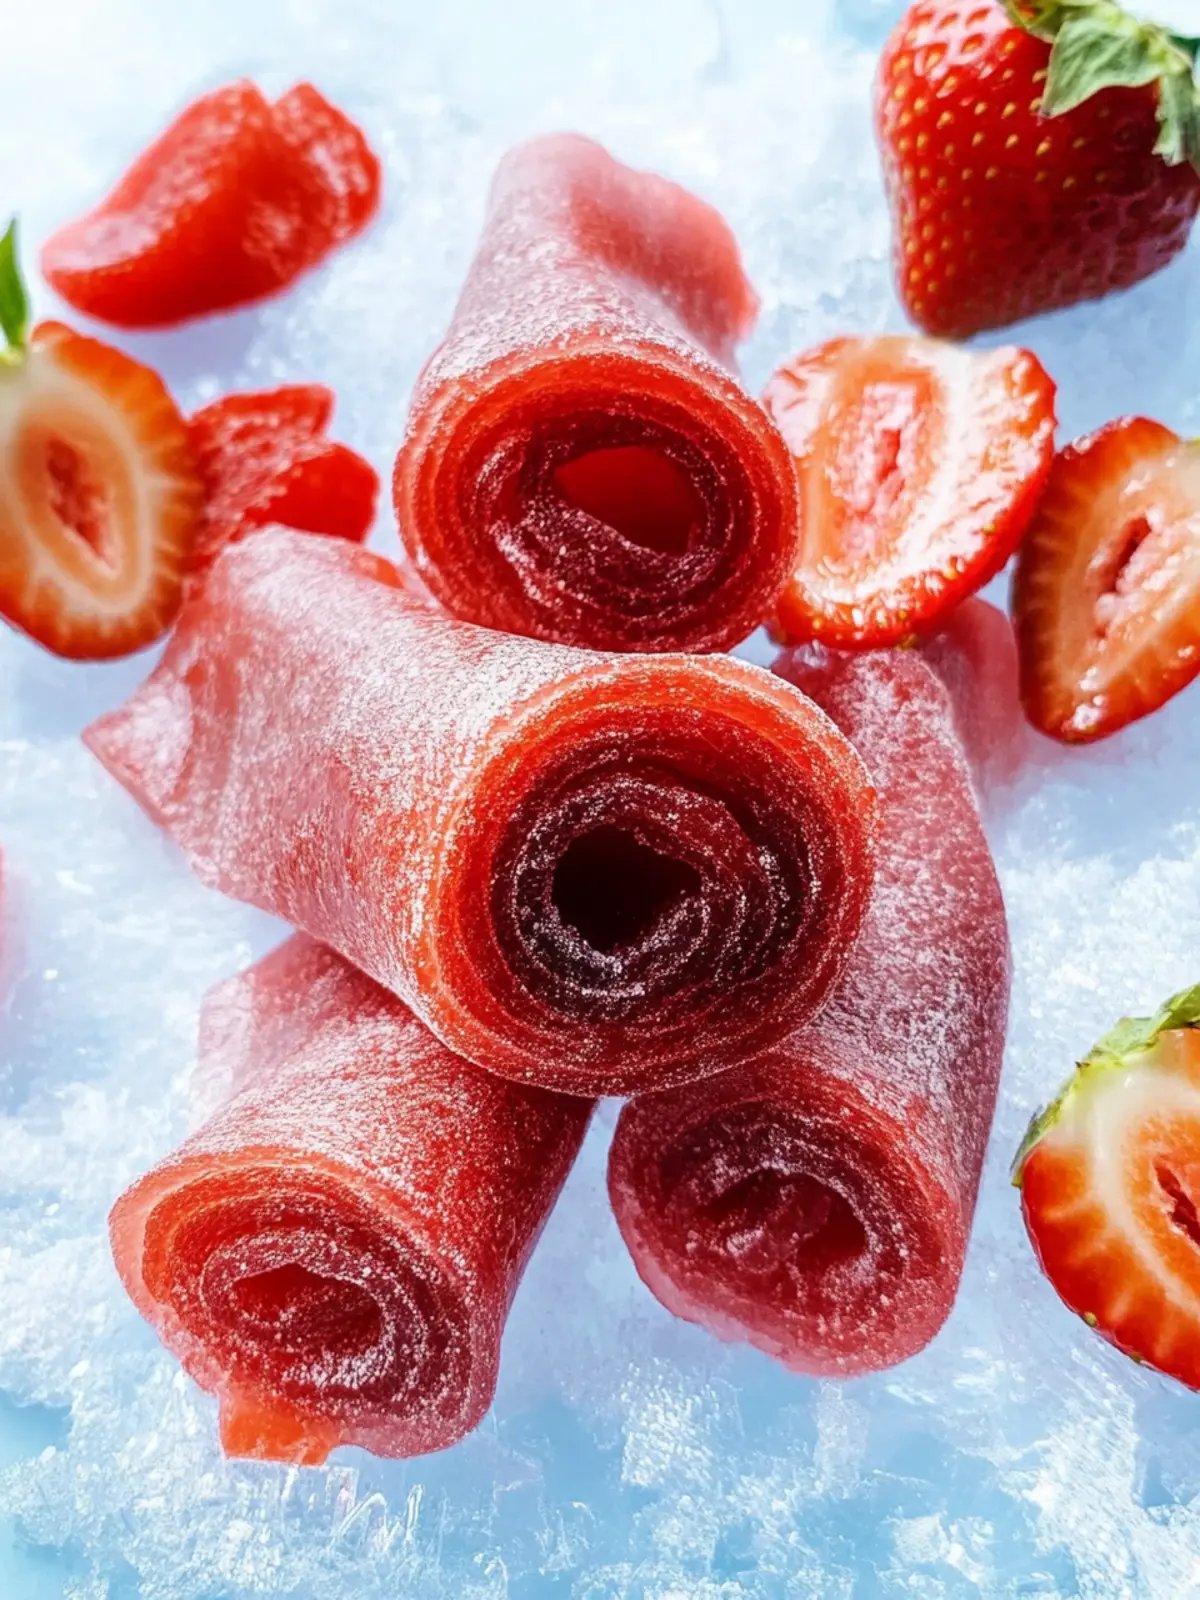
3-Ingredient Homemade Strawberry Fruit Roll-Ups Recipe FAQs
How do I choose the best strawberries for my roll-ups?
Absolutely! Look for ripe strawberries that are bright red without any dark spots or bruises. Fresh strawberries should have a sweet aroma and feel firm to the touch. If you’re using frozen strawberries, ensure they are unsweetened and free of excess ice.
What is the best way to store my strawberry fruit roll-ups?
For ideal freshness, store your roll-ups in an airtight container in the fridge for up to 2 weeks. I often add a paper towel inside the container to absorb excess moisture, which helps maintain their chewy texture. If keeping at room temperature, consume them within 3 days, wrapped in parchment paper.
Can I freeze strawberry fruit roll-ups, and if so, how?
Yes, you can! To freeze your fruit roll-ups, layer them between sheets of parchment paper to prevent sticking, then place them in an airtight freezer bag or container. They can be frozen for up to 3 months. To enjoy, simply thaw them in the refrigerator overnight or allow them to sit at room temperature for about 30 minutes.
What should I do if my roll-ups are too sticky after baking?
Very! If the center of your roll-ups is still tacky after the baking time, simply return them to the oven for an additional 30 minutes. Check periodically to ensure they don’t over-dry. On the other hand, if the edges become too dry while the center remains sticky, lightly rub the edges with a damp paper towel to rehydrate them slightly.
Are these strawberry fruit roll-ups safe for children and those with allergies?
Yes, these homemade snacks are generally a great option for kids! However, always consider any allergies to the ingredients—especially honey—and adjust accordingly. For a vegan alternative, simply swap honey for maple syrup or agave. Always double-check the ingredients used, particularly if making variations with different fruits, to ensure they are allergy-friendly.
Can I customize these strawberry fruit roll-ups with other fruits?
Absolutely! The beauty of this recipe lies in its versatility. You can easily substitute strawberries for other fruits like mangoes, peaches, or apples. Just remember to adjust the sweetness by modifying the honey based on the ripeness of the fruit, enhancing the flavor of your roll-ups!
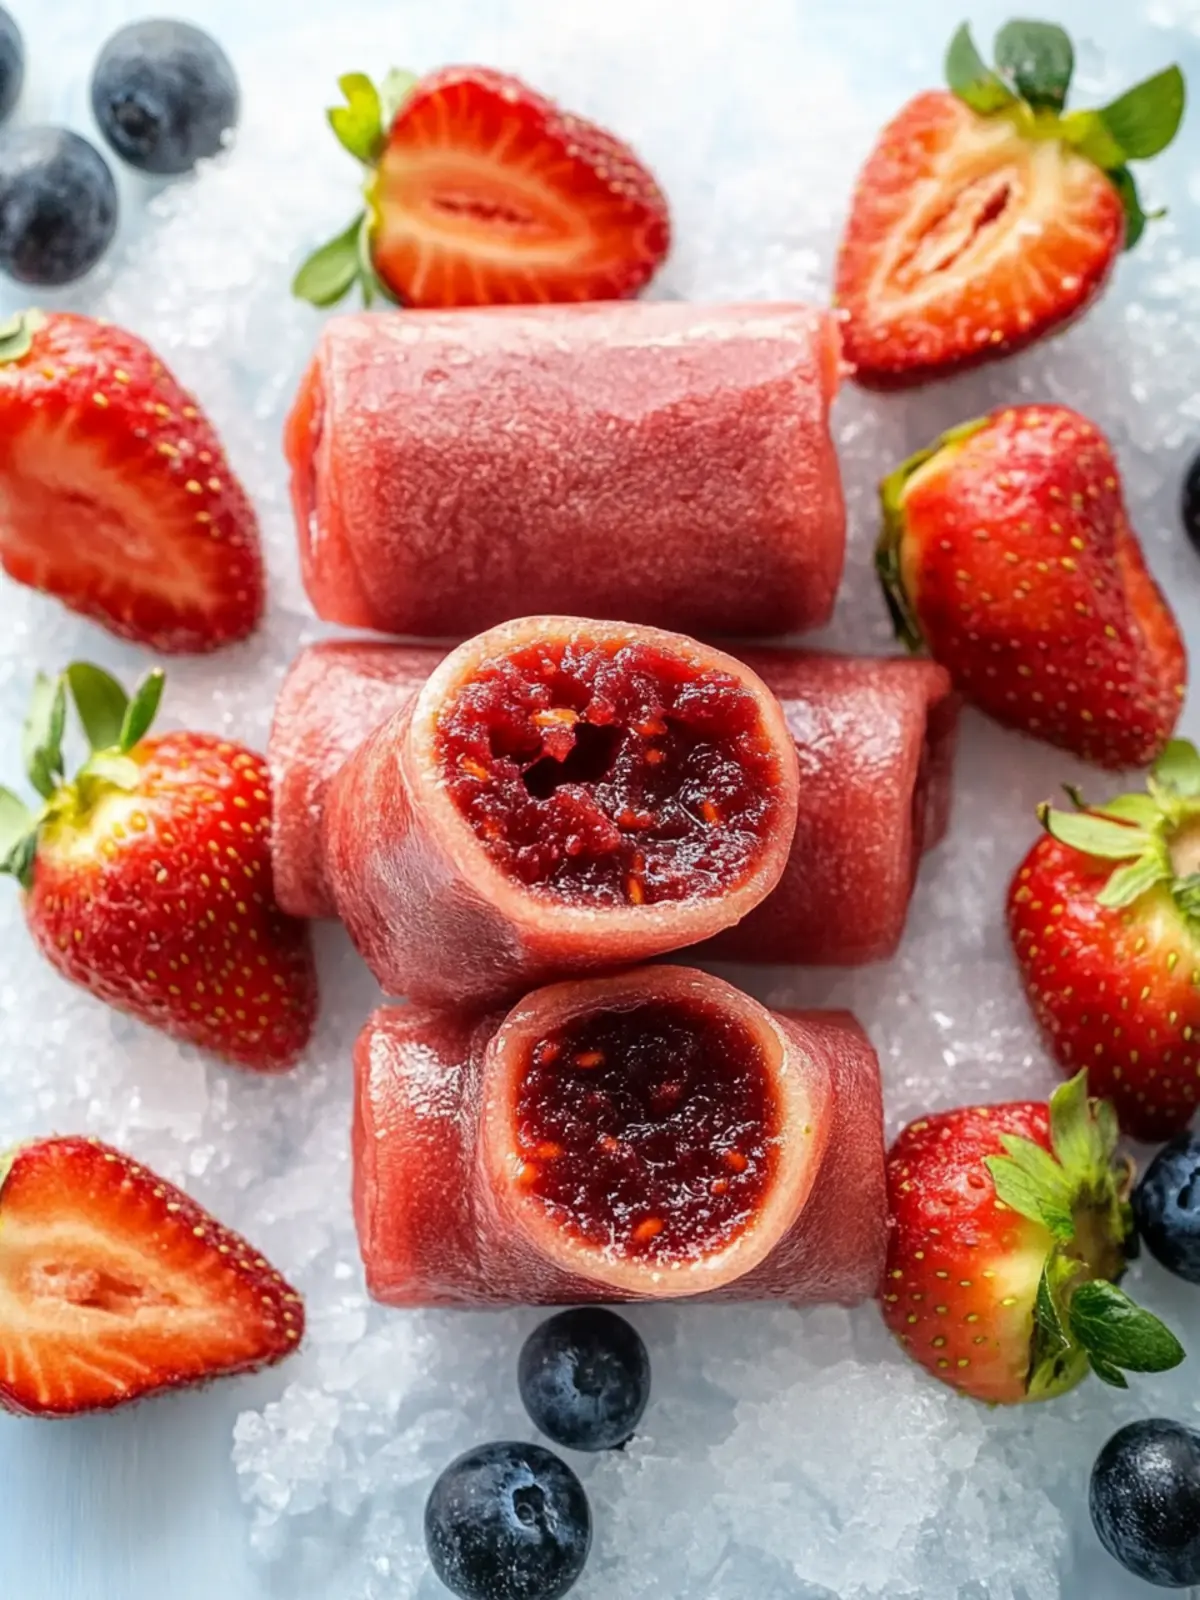
Delicious Strawberry Fruit Roll-Ups Made Easy at Home
Ingredients
Equipment
Method
- Preheat the oven to a low setting between 140°F and 170°F.
- Line a baking sheet with parchment paper.
- Blend the strawberries, honey, and lemon juice in a food processor or blender until smooth.
- Spread the fruit mixture onto the prepared baking sheet, forming an even layer about ⅛ to ¼ inch thick.
- Bake in the oven for 4 to 6 hours, checking periodically after 4 hours.
- Cool the baked mixture completely before carefully removing it from the parchment paper.
- Trim the edges for a neat appearance, then cut the roll-up into 1-inch strips.
- Store opened fruit roll-ups wrapped in parchment paper at room temperature for up to 3 days.
- For extended freshness, store in an airtight container in the fridge for up to 2 weeks.
- Freeze the roll-ups by layering them between parchment paper in an airtight freezer bag for up to 3 months.