
On a chillier evening, when the sun sets early and a hint of nostalgia fills the air, there’s nothing quite like the aroma of Baked Corn Pudding Casserole wafting through the house. Imagine the warmth that envelops you as you scoop into this golden delight, its creamy center whispering sweet and savory secrets. This dish isn’t just a recipe; it’s a comforting embrace, a reminder of family gatherings and shared laughter around the dinner table.
As I gathered my ingredients, the shiny kernels of sweet corn sparkled like little drops of sunshine, ready to transform into a heartwarming side dish. With its fuss-free preparation, this casserole makes weeknight dinners feel special and holiday gatherings comforting. Whether you’re serving it alongside a roast or as a standalone stunning feature at a potluck, this Baked Corn Pudding Casserole is bound to be a crowd-pleaser that brings delightful smiles and satisfied bellies. Ready to create something wonderful? Let’s dive in!
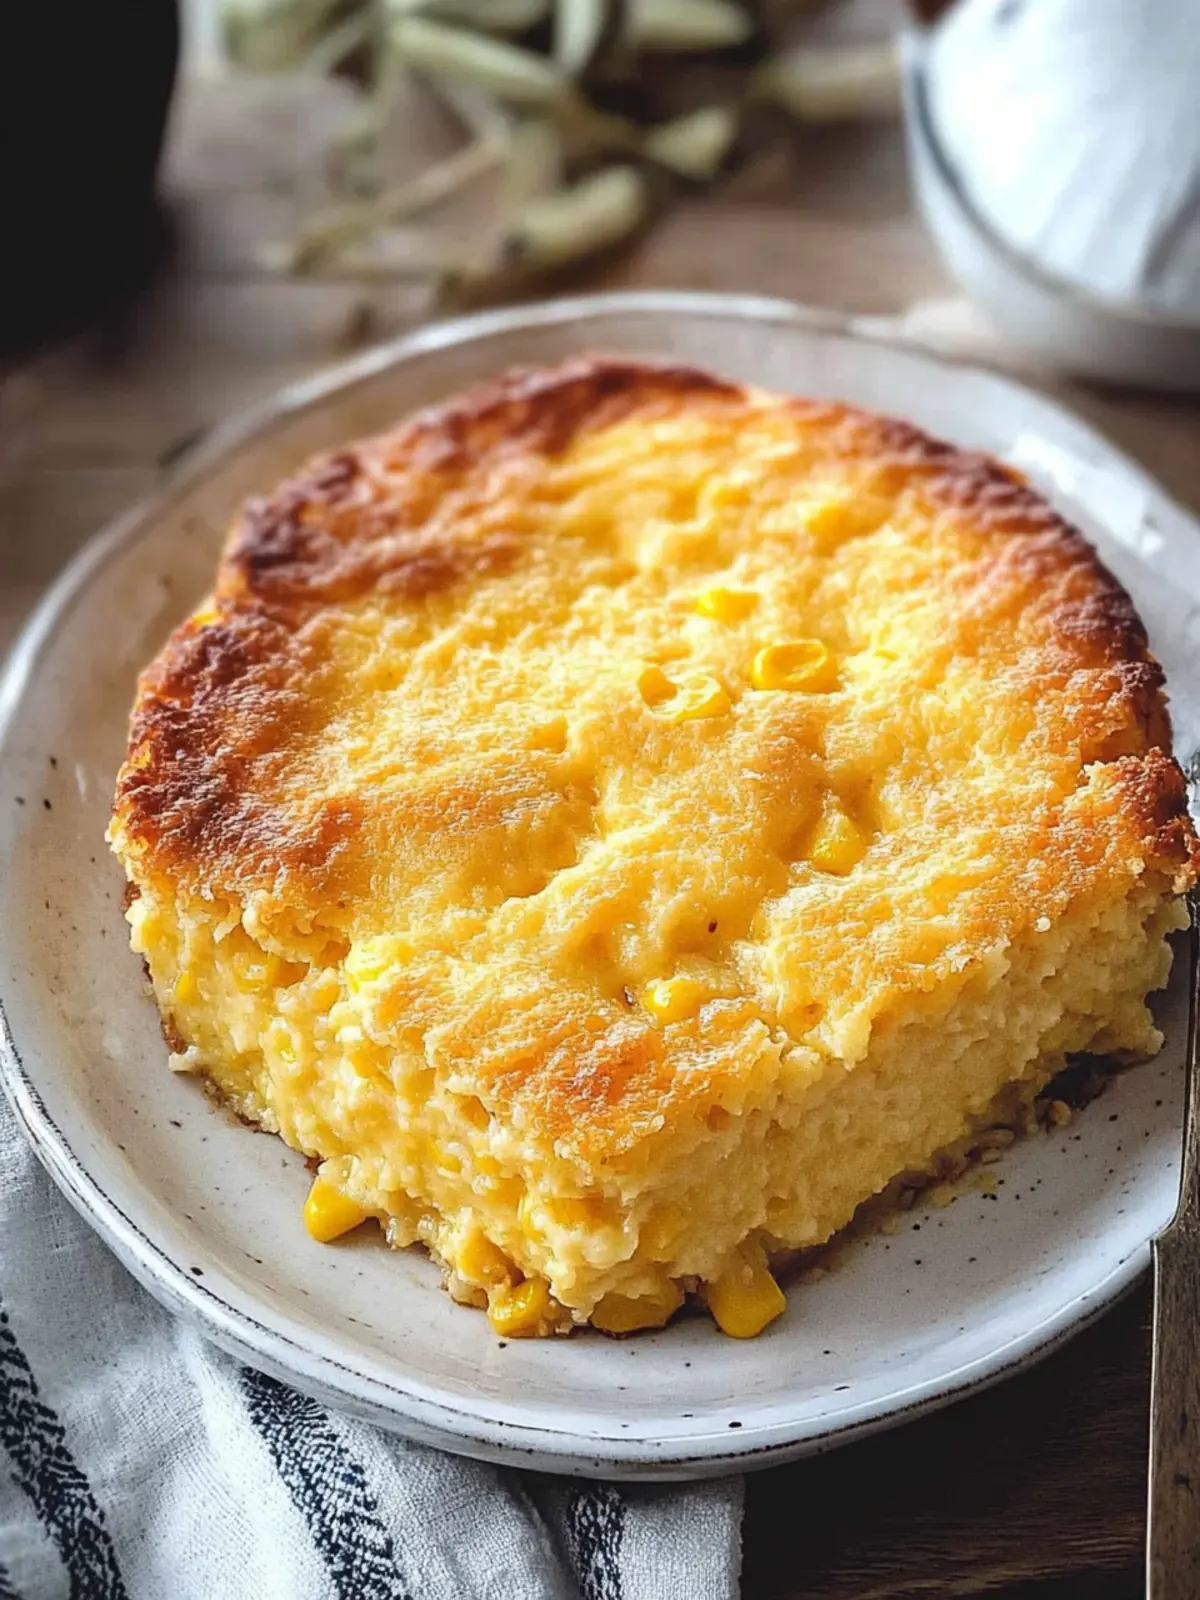
Why will you love this Baked Corn Pudding Casserole?
Comforting warmth: This casserole radiates cozy vibes, perfect for chilly evenings and family gatherings.
Delectable flavor: The fusion of sweet and savory ingredients creates a dish that tantalizes taste buds and evokes nostalgia.
Fuss-free prep: Its straightforward instructions make it easy to whip up for weeknight dinners or last-minute potlucks.
Versatility at its best: Serve it alongside roasted chicken or as a stand-alone dish, satisfying every palate.
Make-ahead magic: Prep it a day early, providing a time-saving solution that still delivers fresh-baked deliciousness when reheating.
Family favorite: The creamy texture and golden top promise to make it a cherished recipe that everyone will love!
Baked Corn Pudding Casserole Ingredients
For the Casserole
- Frozen Sweet Corn – Use fully defrosted and drained corn for ideal texture and natural sweetness.
- Creamed Corn – Adds moisture and a smooth, pudding-like consistency; feel free to use canned or make your own.
- Cornmeal – Serves as the main base; opt for gluten-free cornmeal to suit dietary preferences.
- Gluten-Free Flour or Regular Flour – Helps bind the ingredients together; stick with gluten-free if necessary.
- Baking Powder – Ensures the casserole rises for a fluffy texture.
- Salt – Enhances the dish’s flavor while balancing sweetness.
- Onion Powder – Introduces depth; can be skipped for a milder taste.
- Butter – Adds a rich, luscious flavor; melt it and let it cool before mixing.
- Raw Honey – A natural sweetener offering complex flavor; maple syrup serves as a delightful alternative.
- Sour Cream – Brings creaminess and tang, with full-fat versions providing the best results.
- Eggs – Bind everything together while contributing to the custard-like consistency.
Optional Add-ins
- Fresh Corn – For an even better texture, swap in fresh kernels if they’re in season.
- Chopped Jalapeños – Add a spicy kick to the casserole for a savory twist.
- Cheese – Introduce shredded cheese for extra creaminess and flavor!
This list has everything you need to make your Baked Corn Pudding Casserole a standout dish at your next gathering! Happy cooking!
How to Make Baked Corn Pudding Casserole
-
Preheat the oven to 350°F (175°C). Grab a medium-sized casserole dish and generously butter it to prevent sticking.
-
Melt the butter in a microwave-safe bowl, and once it’s melted, allow it to cool slightly while you prepare the other ingredients.
-
Whisk together in a large bowl the cornmeal, gluten-free flour or regular flour, baking powder, salt, and onion powder until well combined.
-
Combine the eggs in another bowl and whisk in the sour cream, raw honey, and melted butter until the mixture is smooth and creamy.
-
Mix the wet ingredients into the dry ingredients, stirring gently. Fold in the creamed corn and the defrosted sweet corn until just mixed—be careful not to overdo it!
-
Pour the batter into your prepared casserole dish, smoothing the top with a spatula for an even bake.
-
Bake in the preheated oven for 50-60 minutes. It’s done when the edges are golden brown, and the center is set yet slightly soft to the touch.
-
Rest for a few minutes after it comes out of the oven before serving, allowing it to firm up slightly for easy scooping.
Optional: Garnish with fresh herbs for a lovely touch before serving.
Exact quantities are listed in the recipe card below.

Make Ahead Options
These Baked Corn Pudding Casserole preparations are perfect for busy home cooks looking to save time! You can prep the casserole batter up to 24 hours in advance by mixing all the ingredients and storing it in the refrigerator. Simply cover it tightly to maintain freshness and prevent any drying out. When you’re ready to bake, pour the batter into your greased casserole dish and let it sit at room temperature for about 30 minutes before popping it in the oven. This allows the flavors to meld beautifully while ensuring the casserole bakes evenly, resulting in a dish that’s just as delicious as if it were made fresh on the day of serving. Enjoy the ease of hassle-free meal planning with this delightful dish!
How to Store and Freeze Baked Corn Pudding Casserole
-
Fridge: Store any leftovers in an airtight container for up to 3 days. Make sure it cools completely before refrigerating to retain moisture.
-
Freezer: For longer storage, freeze the casserole in individual portions or as a whole, wrapped tightly with plastic wrap and aluminum foil for up to 2 months.
-
Reheating: Thaw overnight in the fridge before reheating. For best results, reheat in the oven at 350°F (175°C) until warmed through, ensuring the creamy texture of your Baked Corn Pudding Casserole is preserved.
-
Make-Ahead: This dish is great for prep ahead of time; just assemble and refrigerate or freeze, then bake when you’re ready to impress your guests!
Baked Corn Pudding Casserole Variations
Customize your Baked Corn Pudding Casserole to delight your family and friends with exciting twists on this comforting dish!
-
Fresh Corn: Use fresh corn off the cob for an even crunchier texture and vibrant flavor.
-
Spicy Kick: Add chopped jalapeños for a zesty flavor explosion. It’d be a fun surprise for spice lovers!
-
Cheesy Bliss: Stir in a cup of shredded cheese, like cheddar or pepper jack, for an irresistible creaminess that elevates every bite.
-
Herby Delight: Incorporate fresh herbs such as thyme or chives for an aromatic lift that complements the sweet corn beautifully.
-
Sweetness Swap: Replace raw honey with agave nectar or maple syrup for a different spin on sweetness without losing the warmth.
-
Veggie Boost: Mix in sautéed bell peppers or spinach for an added nutritional kick that also adds lovely color.
-
Extra Creaminess: For an even richer texture, substitute half of the sour cream with cream cheese, giving your casserole a luxurious feel.
-
Savory Mushroom: Fold in sautéed mushrooms for a deep umami flavor, enhancing the casserole’s overall taste profile for a gourmet twist.
Expert Tips for Baked Corn Pudding Casserole
-
Drain Well: Ensure that your frozen sweet corn is thoroughly drained to avoid excess moisture that can make the casserole soggy.
-
Perfectly Baked: Keep the center slightly soft for that classic pudding texture—overbaking can lead to a dry casserole.
-
Flavor Infusion: For added depth, consider sautéing onions or garlic before mixing them in—just remember to reduce the onion powder if you do!
-
Day-Ahead Delight: This Baked Corn Pudding Casserole can be prepared a day in advance. Just reheat in the oven for the best results!
-
Adjust Sweetness: Feel free to adjust the sweetness by using more or less honey or switching to maple syrup based on your preference.
What to Serve with Baked Corn Pudding Casserole?
This delightful casserole pairs beautifully with your favorite dishes, creating a comforting meal that warms the heart.
-
Roasted Chicken: The savory flavors of roast chicken complement the sweetness of the casserole, creating a satisfying balance that delights the palate. Imagine tender, juicy chicken alongside a rich, creamy side—it’s a match made in comfort food heaven!
-
Grilled Vegetables: Adding colorful, smoky grilled vegetables brings a fresh crunch that contrasts beautifully with the soft texture of the pudding. The vibrant flavors of seasonal veggies make each bite a delightful surprise.
-
Pulled Pork: The sweet and tangy flavors of pulled pork provide a wonderful contrast to the creamy corn pudding, elevating your meal to a festive feast. Each bite offers a symphony of flavors perfect for potlucks or family gatherings.
-
Sliced Ham: Juicy slices of ham add a savory element that pairs nicely with the casserole’s sweetness. The combination of salty and sweet creates a harmonious dish that everyone will enjoy.
-
Fresh Garden Salad: A light and crisp salad with a tangy vinaigrette gives a refreshing contrast to the rich casserole, balancing out the meal nicely. The freshness of veggies brings a vital burst of color and flavor—perfect for a cozy dinner.
-
Cornbread Muffins: Why not double down on corn? Light, buttery cornbread muffins are an ideal accompaniment, perfect for scooping up bites of the pudding. Together, they celebrate the comforting essence of corn-based dishes!
-
Apple Pie: For dessert, serve warm apple pie with a scoop of vanilla ice cream. The sweet spices and warm fruit will create a nostalgic end to your meal, echoing the comforting flavors of the casserole.
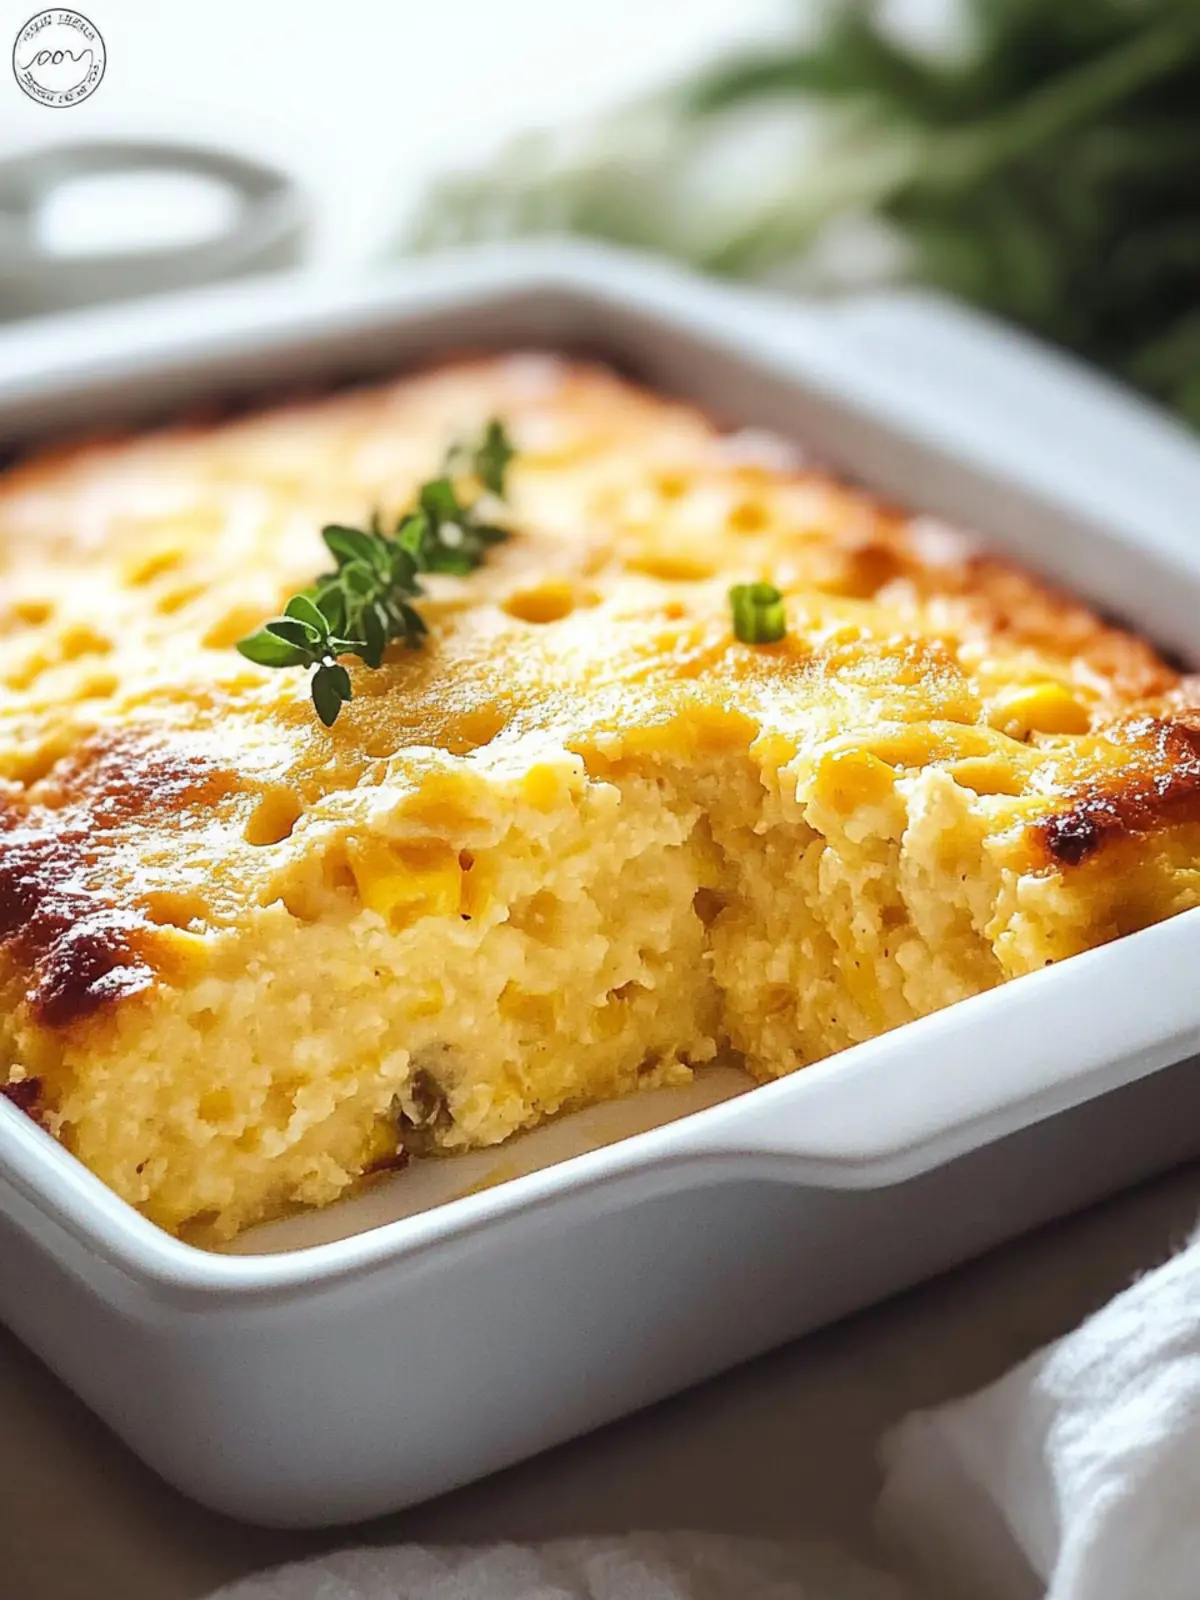
Baked Corn Pudding Casserole Recipe FAQs
What type of corn is best for the casserole?
Absolutely! For the best texture and sweetness, use frozen sweet corn that has been fully defrosted and drained. Fresh corn can also be used if it’s in season for an even richer flavor. Just ensure you cut it off the cob and follow the same preparation to avoid excess moisture.
How should I store leftovers?
I recommend storing any leftovers in an airtight container in the refrigerator for up to 3 days. Make sure the casserole cools completely before refrigerating, as this helps retain moisture and keeps it from becoming soggy.
Can I freeze Baked Corn Pudding Casserole?
Yes, indeed! To freeze, wrap the casserole tightly with plastic wrap and then with aluminum foil for extra protection against freezer burn. It’s best to freeze in individual portions or as a whole, and it can last up to 2 months in the freezer. Just remember to label it with the date for easy tracking!
What should I do if my casserole turns out watery?
Very! If you encounter a watery casserole, it’s often due to excess moisture from the corn. Always ensure the corn is well-drained before mixing. If you find it still turns out watery, you can try baking it a bit longer to help it set, but keep an eye on the top so it doesn’t burn.
Is this casserole suitable for gluten-free diets?
Absolutely! You can easily make Baked Corn Pudding Casserole gluten-free by using gluten-free flour and cornmeal. Just ensure all your ingredients are labeled gluten-free, especially the baking powder, to accommodate those with gluten intolerance or celiac disease.
Can I make this dish ahead of time?
Absolutely! This casserole is perfect for preparing a day in advance. Just assemble it, cover tightly, and refrigerate. When you’re ready to bake, take it out about 30 minutes before reheating to bring it closer to room temperature. This helps ensure an even bake, and everyone will enjoy that freshly baked goodness!
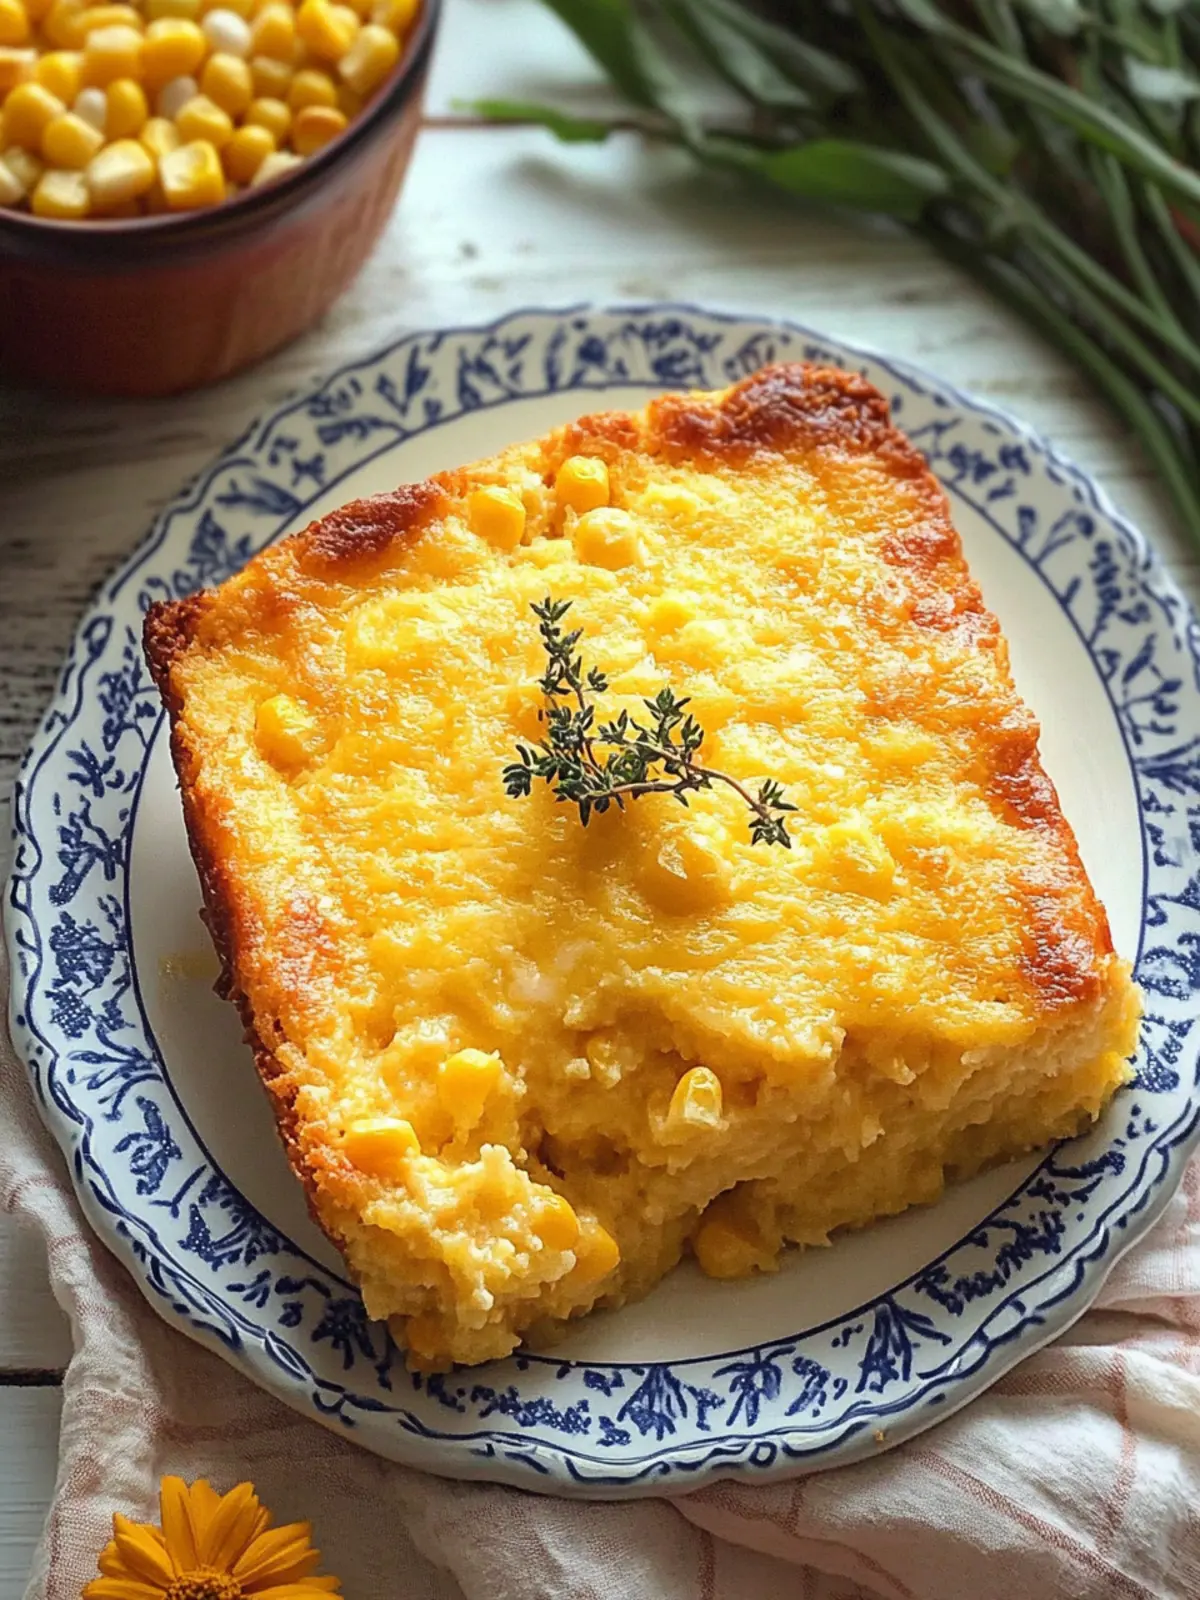
Creamy Baked Corn Pudding Casserole for Cozy Gatherings
Ingredients
Equipment
Method
- Preheat the oven to 350°F (175°C). Grab a medium-sized casserole dish and generously butter it to prevent sticking.
- Melt the butter in a microwave-safe bowl, and once it’s melted, allow it to cool slightly.
- Whisk together in a large bowl the cornmeal, gluten-free flour or regular flour, baking powder, salt, and onion powder until well combined.
- In another bowl, whisk together the eggs, sour cream, raw honey, and melted butter until smooth and creamy.
- Mix the wet ingredients into the dry ingredients, stirring gently. Fold in the creamed corn and the defrosted sweet corn until just mixed.
- Pour the batter into your prepared casserole dish, smoothing the top with a spatula.
- Bake in the preheated oven for 50-60 minutes, until the edges are golden brown and the center is set.
- Rest for a few minutes before serving to allow it to firm up slightly.